Choosing Your Fabric
The first step in making your DIY napkins with mitered corners is selecting the right fabric. The fabric you choose will set the tone for your table setting, so it’s essential to pick something that complements your overall aesthetic.

Linen: A Timeless Classic
Linen is a popular choice for napkins because of its durability and elegant appearance. It’s machine-washable, which makes it a practical option for everyday use or special occasions. Linen napkin also gets softer with each wash, adding a luxurious feel to your table.
Cotton: Soft and Versatile
Cotton is another excellent option, especially if you're aiming for a more casual look. It comes in a wide range of colors and patterns, so you can easily find something that matches your decor. Cotton napkins are also very absorbent, making them both beautiful and functional.
Sizing Your Napkins
Once you've selected your fabric, consider the size of your napkins. The standard size for dinner napkins is 18 inches square, but you can adjust this depending on your preference. Larger napkins can be more luxurious, while smaller ones are perfect for a more informal setting.
Gathering Your Supplies
Before you start sewing, make sure you have all the necessary supplies. Gathering everything ahead of time will make the process smoother and more enjoyable.
Essential Supplies
- Fabric of your choice: Linen, cotton, or any other material you prefer.
- Matching thread: Ensure the thread color complements your fabric.
- Sewing machine: A basic machine will do the job.
- Iron and ironing board: Pressing is key to achieving sharp mitered corners.
- Measuring tape or ruler: Precision is important in this project.
- Pins: To hold your fabric in place while you sew.
- Scissors: Sharp fabric scissors will make cutting easier.
- Rotary cutter and mat (optional): For more precise cuts.
- Pencil or fabric marker: To mark your measurements.
Having all these supplies ready will save you time and help you stay organized as you move through each step of the process.
Also Read: The Sustainable Choice: Eco-Friendly Options for Plaid Napkins
Cutting Your Fabric
With your supplies gathered, it’s time to start cutting your fabric. Accuracy is crucial here, as the quality of your cuts will directly affect the final product.
Step-by-Step Cutting Guide
- Measure and mark: Start by determining the desired size of your napkins. On the wrong side of your fabric, use a ruler or measuring tape to mark out squares. For a standard 18-inch napkin, add an extra inch on each side to allow for seams.
- Fold and cut: Fold your fabric in half diagonally to create a triangle. Then, fold the triangle in half again to make a smaller triangle. This method helps ensure that all sides are equal.
- Cut the fabric: Use your rotary cutter and mat, or fabric scissors, to cut along the folded edges. Repeat this process for all your napkins.
Precision in cutting is the foundation of well-made napkins, so take your time with this step.
Sewing the Napkins
Now comes the fun part: sewing your mitered corners. This is where your napkins start to take shape.

Step-by-Step Sewing Instructions
- Fold and press: Begin by folding one edge of your fabric square under by 1/2 inch, then press with your iron. Fold it under again by another 1/2 inch and press once more. This double-fold will create a clean edge. Repeat for all four sides of the square.
- Create the miter: Fold your napkin in half diagonally with the right sides together. This will create a triangle. Pin the raw edges together to hold them in place.
- Sew the seam: Using a sewing machine, stitch along the diagonal fold with a 1/4 inch seam allowance. Be sure to backstitch at the beginning and end to secure your stitches.
- Trim and press: After sewing, trim the seam allowance to 1/8 inch, then press the seam open. This reduces bulk and helps the corner lay flat.
- Repeat: Continue these steps for the remaining three corners of each napkin.
By following these steps carefully, you’ll achieve crisp, professional-looking mitered corners on each napkin.
Pressing Your Napkins
Pressing is an essential step that gives your napkins a polished, finished look. Proper pressing can make all the difference between homemade and professional quality.
How to Press Your Napkins
- Iron the seams: Start by pressing the seams flat. This ensures that they lay perfectly and don’t create any unwanted bulk.
- Press the edges: Next, fold the raw edges of the napkin under and press them flat. This helps to create sharp, clean lines.
- Final press: Give the entire napkin a once-over with your iron, ensuring that all wrinkles are smoothed out and the napkin looks crisp.
Taking the time to press your napkins properly will make them look neat and ready for your table.
Adding Personal Touches (Optional)
If you want to make your DIY napkins even more special, consider adding some personal touches. These can be simple or elaborate, depending on your skill level and how much time you want to invest.
Creative Ideas for Personalization
- Embroidery: Adding a monogram or a decorative stitch to the corner of each napkin can give them a unique, personalized touch. If you’re new to embroidery, start with simple designs.
- Appliqué: Applying a small, decorative patch to the center or corner of each napkin can add color and texture. Choose designs that complement your fabric choice.
- Hand-painted designs: Use fabric paint to create unique patterns on your napkins. This is a great option if you’re artistic or want to involve children in the project.
Adding these touches not only makes your napkins stand out but also allows you to infuse your personality into your table settings.
Caring for Your DIY Napkins
Once you’ve completed your DIY napkins with mitered corners, it’s important to care for them properly to keep them looking their best.
Care Instructions
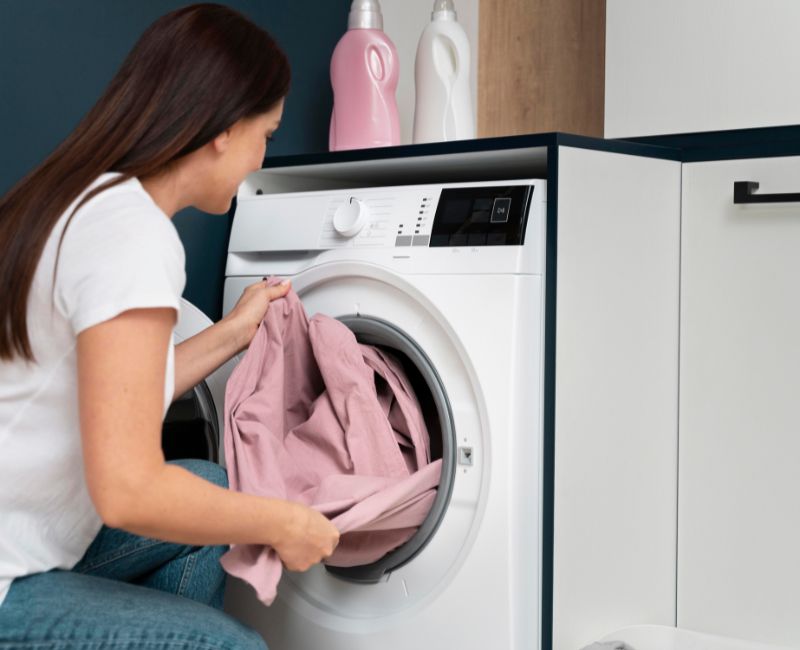
- Machine wash: Most fabrics can be machine washed on a gentle cycle. Be sure to use a mild detergent to preserve the color and texture of your napkins.
- Tumble dry low: To prevent shrinkage, tumble dry on low heat or hang them to dry. This is especially important for linen, which can shrink if exposed to high heat.
- Iron as needed: If your napkins get wrinkled, iron them while they’re still slightly damp. This will help smooth out any creases and keep them looking crisp.
By following these care instructions, your handmade napkins will stay beautiful and functional for years to come.
Related Videos and Readings:


