
Quick Overview of 9 Halloween Napkin Folds
|
Napkin Fold |
Skill Level |
Time |
|
Bat Napkin Fold |
Medium |
About 5 minutes |
|
Pumpkin Napkin Fold |
Easy |
About 5 minutes |
|
Witch Hat Napkin Fold |
Medium |
About 8 minutes |
|
Standing Ghost Napkin Fold |
Easy |
About 5 minutes |
|
Skeleton Body Napkin Fold |
Medium |
About 6 minutes |
|
Freddy Krueger’s Hand |
Easy |
About 5 minutes |
|
Spider Napkin Fold |
Easy |
About 5 minutes |
|
Simple Halloween Fold |
Easy |
About 2 minutes |
|
Simple Ghost Fold |
Easy |
About 3 minutes |
Times are approximate. Your first attempt may take a little longer.
Spooky Halloween Napkin Fold Ideas
A folded napkin can turn a plain dinner into a party. Cloth napkins hold a crisp fold better than paper ones. They are also soft, washable, and ready to use again next year. Most folds here work best with a square napkin that is 18 to 20 inches wide. Press your napkins with a warm iron first. Sharp creases make every fold look neater. Pick the fold that fits your time.

Then grab the matching napkin I suggest. A dark tablecloth makes bright napkins pop. Try a black tablecloth or a red and black tablecloth underneath. You can also browse more cloth napkins to mix and match. After the party, wash them with care. Our linen care guide keeps them soft for next October.
1. Bat Napkin Fold for Halloween
Bats are the easiest way to say Halloween. This fold makes two pointed wings and a small body. A napkin with a colored border adds fun contrast to the wings.
Recommended product: Border Linen Napkins. The colored border makes the wings stand out.

-
Step 1: Lay the napkin flat. Keep the border side facing up.
-
Step 2: Bring the bottom edge up to the top edge. You now have a long rectangle. The fold is at the bottom.
-
Step 3: Fold the top left corner down on a slant. Start the fold at the middle of the left edge. End it about a quarter of the way along the top edge.
-
Step 4: Fold the bottom left corner up the same way. The left end is now a point.
-
Step 5: Fold the top right corner down on a slant, just like the left side.
-
Step 6: Fold the bottom right corner up. Now both ends are pointed. These are your wings.
-
Step 7: Pinch the middle and gather it into small pleats. Slide a napkin ring or tie a black ribbon around it.
-
Step 8: Lift the two wings so they tilt up. Set your bat on the plate.
This fold works best with a firm linen napkin, because the pleats hold their shape. If the wings droop, press the folds again with a warm iron. Fold one bat for every guest and you will have a whole colony at the table.
Style it: Set the bat on a black plate and place a candle beside it.
2. Pumpkin Napkin Fold
Pumpkins say fall and Halloween at the same time. This fold makes a round napkin pumpkin you can set right on the plate. It looks fancy, but the steps are easy.
Recommended product: Rustic Halloween Napkins. The rust color looks just like a real pumpkin.

-
Step 1: Lay the napkin flat in a diamond shape.
-
Step 2: Put a ball of tissue paper in the center. Make it about the size of a tennis ball.
-
Step 3: Lift all four corners up over the ball.
-
Step 4: Gather the cloth tightly just above the ball.
-
Step 5: Wrap a rubber band or hair tie around the gathered cloth.
-
Step 6: Spread the pleats out evenly. They will look like the ridges on a pumpkin.
-
Step 7: Turn the pumpkin upside down. Press the bottom gently so it sits flat.
-
Step 8: Turn it right side up and set it on the plate.
-
Step 9: Slide a small wood napkin ring over the gathered top. Tuck the loose corners inside it.
Kids can help with this one. Let them stuff the tissue ball and spread the pleats. You can also fold a few small pumpkins from cocktail napkins and tuck them around your centerpiece.
Complete look: Push a mini pinecone or a short cinnamon stick into the ring for a stem. Scatter a few fall leaves on the plate.
3. Witch Hat Napkin Fold
A witch hat at every seat makes guests giggle. This fold takes a little more time, but it is worth it. The tall tip and wide brim look great on a dark or plaid napkin.
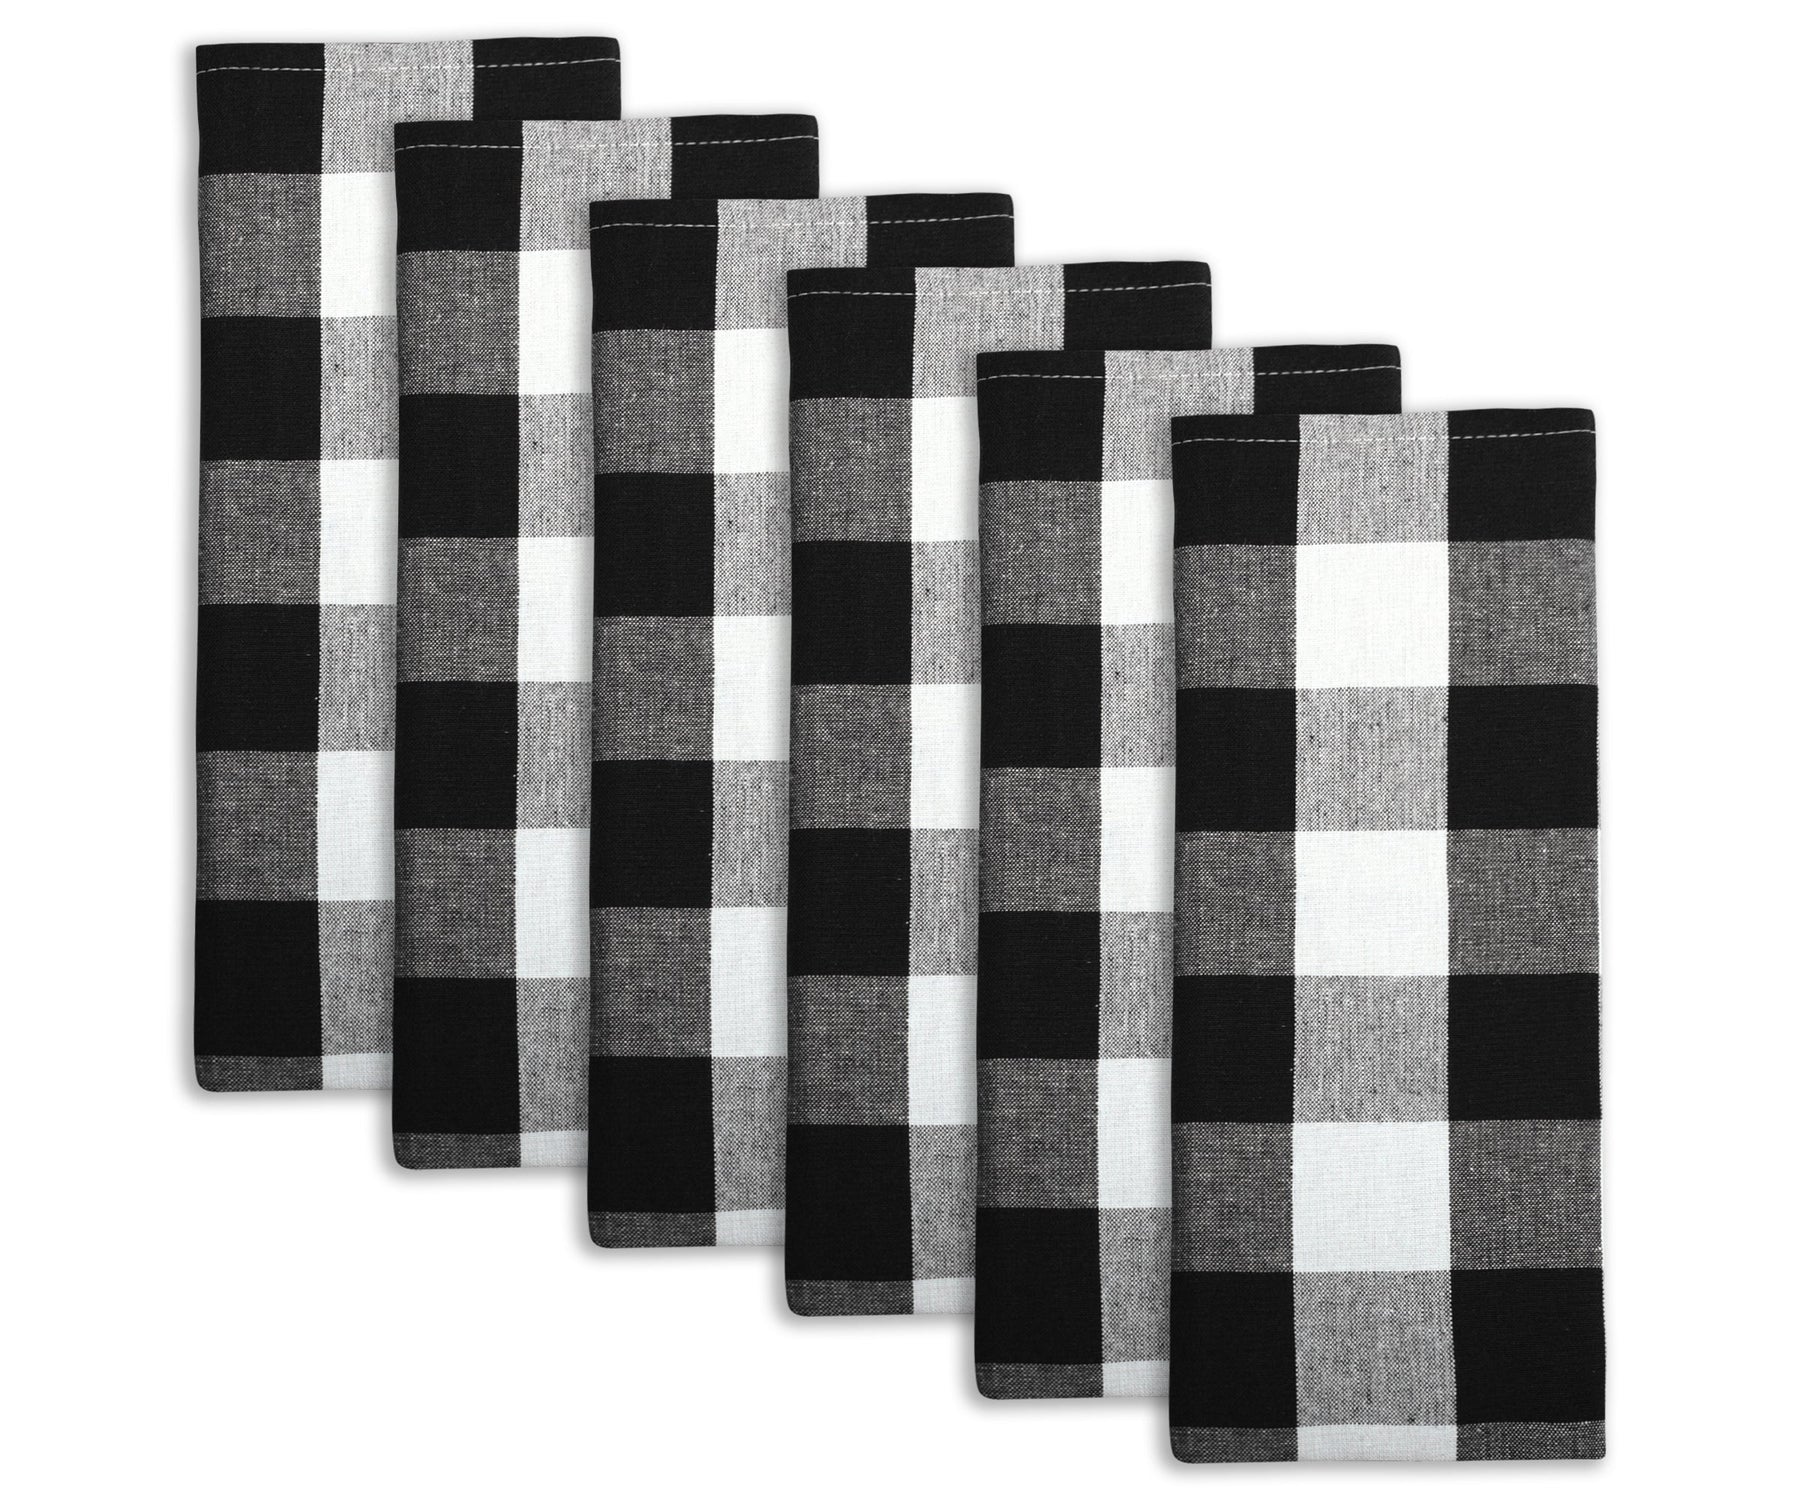
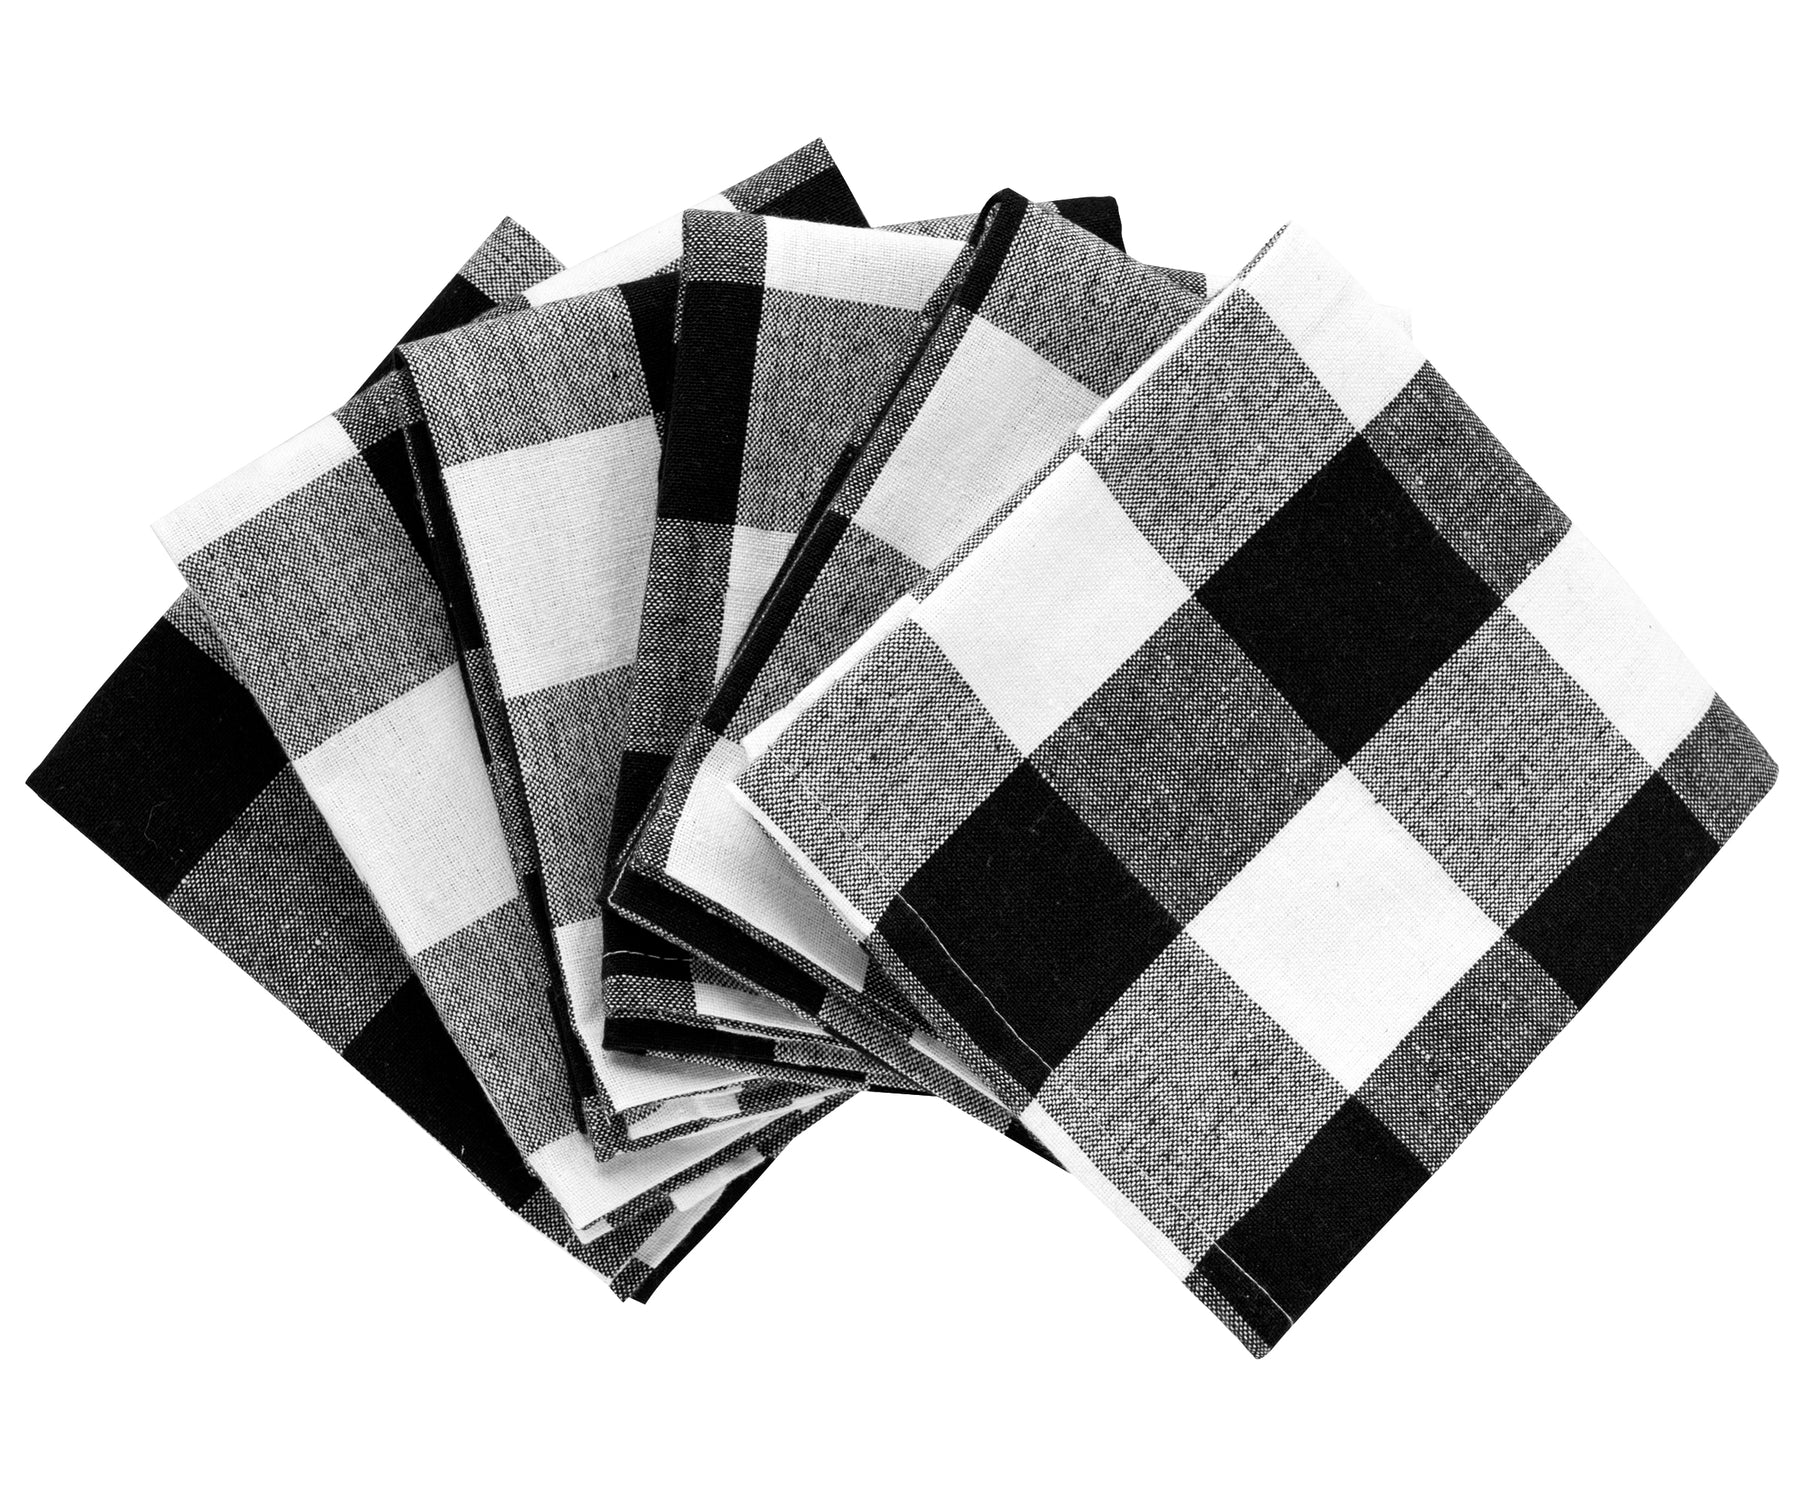
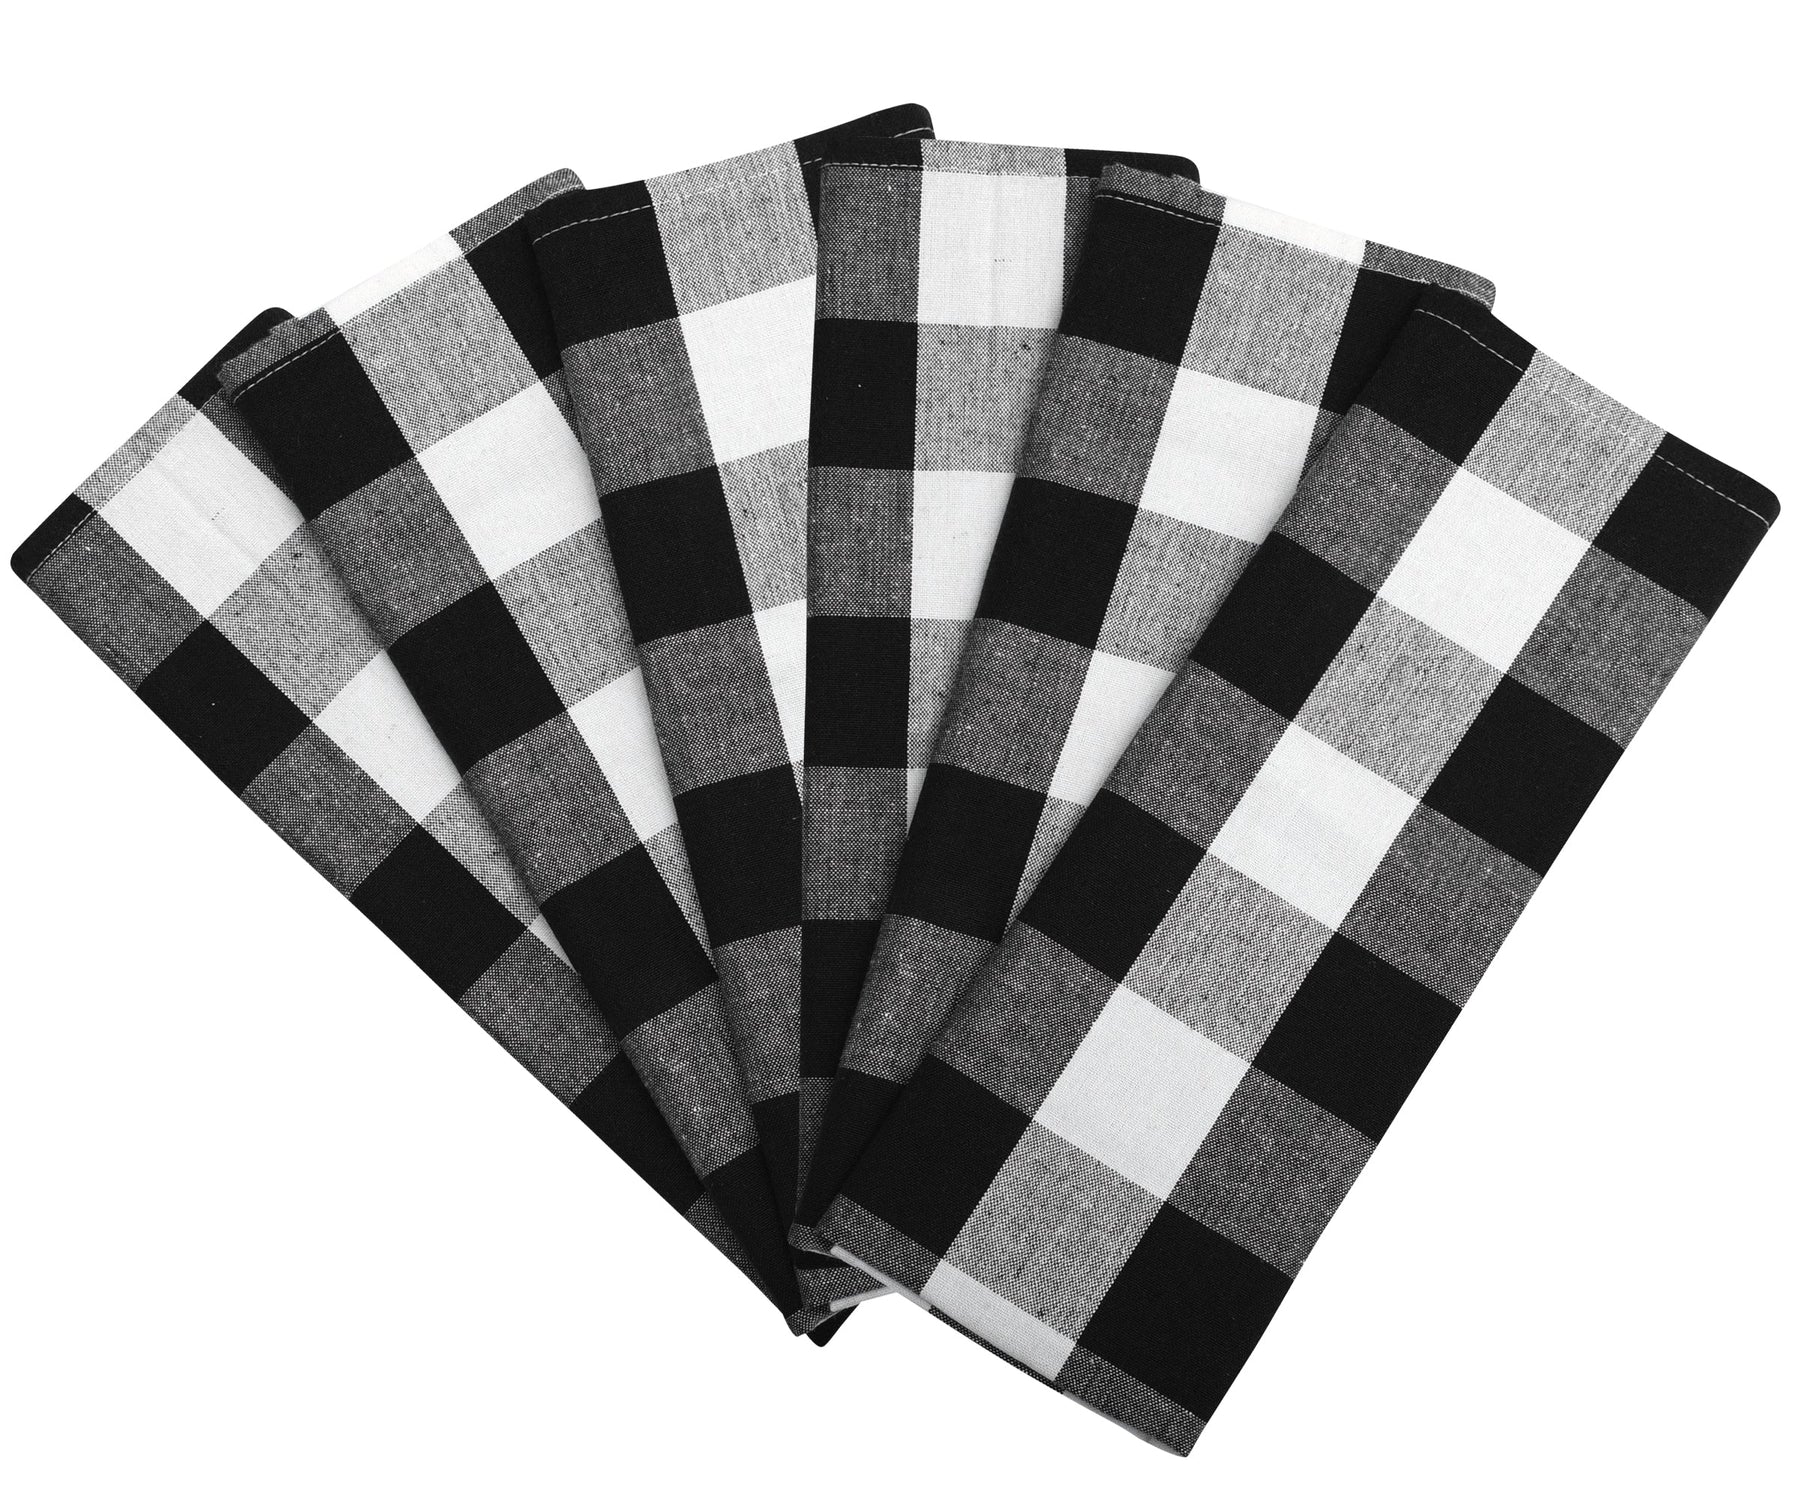
Recommended product: Buffalo Plaid Napkin in orange and black plaid. The bold check gives the hat a playful look.

-
Step 1: Lay the napkin flat.
-
Step 2: Fold it in half to make a rectangle. Keep the fold at the bottom.
-
Step 3: Smooth it flat with your hand.
-
Step 4: Fold the left end down. Line up the short left edge with the bottom edge. You will see a triangle on the left.
-
Step 5: Fold the right end down the same way. Now you have one big triangle with the point at the top.
-
Step 6: Press the folds flat.
-
Step 7: Hold the top point with one hand.
-
Step 8: Curl the left corner toward the middle, like you are making an ice cream cone.
-
Step 9: Keep curling until the left corner meets the right corner. You now have a cone.
-
Step 10: Tuck the loose corner into the cone to lock the seam.
-
Step 11: Stand the cone on the plate. Fold the bottom edge out about one inch to make a brim.
-
Step 12: Tie a ribbon around the base and make a bow. Bend the tip over a little.
If the tip bends too much, press the cone lightly with a warm iron before you add the brim. A black napkin gives the classic look. The plaid makes a fun country version.
Tip: Press the napkin with a warm iron first. A light mist of starch helps the hat stand tall.
4. Ghost Napkin Fold
This ghost stands up on the plate like a tiny floating spirit. You need one small ball and a few felt dots. Kids love this one.
Recommended product: Signature Linen Napkins in white. The soft cloth drapes like a real ghost sheet.

-
Step 1: Lay a white napkin flat.
-
Step 2: Place a small ball in the center. A ping pong ball or a wad of tissue works well.
-
Step 3: Lift the center of the napkin up around the ball. Let the rest hang down.
-
Step 4: Tie a piece of string or a rubber band under the ball. This makes the neck and head.
-
Step 5: Fluff the cloth so it falls in soft folds.
-
Step 6: Pull two corners out to the sides. These are the ghost's arms.
-
Step 7: Stick on two black felt dots for eyes and one for a mouth. Use removable dots so the napkin stays clean.
-
Step 8: Stand the ghost on the plate at each place setting.
Cotton balls work if you do not have a ping pong ball. Wrap them in a thin tissue first. You can also use these ghosts as place cards. Write each guest's name on a small tag and tie it to an arm.
Style it: Line up three ghosts down the table for a spooky parade.
5. Skeleton Body Napkin Fold
Add a skeleton to the table and your guests will notice right away. This fold makes a body with two legs and two arms. Place a small skull on top, and your skeleton is ready to dine.
Recommended product: Crochet Scalloped Edge Napkins in ivory. The ivory color looks like bone.

-
Step 1: Lay the napkin flat. Fold it in thirds, like a letter, to make a long strip.
-
Step 2: Fold the strip in half the long way to make it thinner.
-
Step 3: Fold the strip in half across the middle. The fold is the neck.
-
Step 4: Tie a thin ribbon about three inches below the fold. This is the chest.
-
Step 5: Lay the skeleton on the plate. Spread the two ends below the ribbon into a V. These are the legs.
-
Step 6: Fold each tip up one inch to make feet.
-
Step 7: Roll a cocktail napkin into a thin tube. Slide it behind the chest so both ends peek out as arms.
-
Step 8: Set a small skull above the fold.
Skeletons look best on a dark table. A black table runner makes the ivory napkin glow. Set a small bat or spider beside the skull for extra creep. Wash the napkin after dinner so it is ready for next year.
Style it: Draw a few bones on a black plate with a white paint pen. They peek out around the napkin.
6. Freddy Krueger's Hand Napkin Fold
Freddy Krueger's hand is the famous glove with blades on every finger from A Nightmare on Elm Street, and this fold gives your table the same creepy claw. Freddy Krueger's glove has long, sharp claws. This fold gives you a clawed hand that reaches up from the plate. It looks spooky, and it is easy to fold.
Recommended product: Metallic Copper Napkins. The copper shine gives the claws a rusty glow.

-
Step 1: Lay the napkin flat. Fold it in half to make a rectangle.
-
Step 2: Fold the rectangle back and forth like a paper fan. Make each pleat about three inches wide. You should get six pleats.
-
Step 3: Press the pleated strip flat.
-
Step 4: Tie a ribbon or rubber band around the bottom three inches. This is the wrist.
-
Step 5: Fan out the top so the pleats spread like fingers.
-
Step 6: Fold each fingertip corner forward to make a pointed claw.
-
Step 7: Stand the hand on the plate. Hide the rubber band with a ribbon cuff.
Metallic napkins catch candlelight, so add a few tea lights near the plate. For a softer look, use fewer pleats and skip the sharp claw tips.
Style it: Make two hands for each plate and cross them. It looks like they are reaching for the food.
7. Spider Napkin Fold
Spiders crawl right onto the table in this fold. The napkin makes a round body, and pipe cleaners make eight legs. Black napkins look the best.
Recommended product: Black Scalloped Napkins. The scalloped edge adds a soft ruffle to the body.

-
Step 1: Lay the black napkin flat in a diamond shape.
-
Step 2: Put a small ball of tissue in the center. Make it about the size of a golf ball.
-
Step 3: Lift the corners up and over the ball. Gather the cloth tightly.
-
Step 4: Tie a black rubber band or thread around the gathered cloth.
-
Step 5: Slide four black pipe cleaners under the band. Pull each one so equal lengths stick out on both sides. Now you have eight legs.
-
Step 6: Turn the ball over so the smooth side faces up. The gathered part now sits underneath. This is the spider's body.
-
Step 7: Bend each leg in the middle to make a knee. Add two small stick-on eyes if you like.
You can also make tiny spiders from cocktail napkins. Use two pipe cleaners and a cotton ball. Place a few along your table runner like they are crawling to the next seat.
Style it: Pair the spider with a black tablecloth. The legs stand out on the dark cloth.
8. Simple Halloween Napkin Fold
No time for a big project? This pocket fold takes about two minutes. It holds the fork and knife and keeps the plate clear. Add a spooky ring or a paper bat, and you are done.
Recommended product: Try napkins from our handpicked Halloween collection. Pick black, orange, or red to match your table.

-
Step 1: Lay the napkin flat.
-
Step 2: Fold the left third over the middle. Then fold the right third over that. You now have a long strip.
-
Step 3: Turn the strip so it stands up and down.
-
Step 4: Fold the bottom third up in front. This makes a pocket.
-
Step 5: Slide the fork and knife into the pocket.
-
Step 6: Add a Halloween napkin ring or a small paper bat. Set the napkin on the plate or beside it.
This is the best fold for a big crowd. It is quick, and every napkin looks the same. Slip a name tag into each pocket, and it works as a place card too.
Style it: Mix a few colors on one table. Try black, orange, and white napkins side by side.
9. Simple Halloween Ghost Napkin Fold
This ghost lies flat on the plate. A fringe napkin gives the bottom a ragged, ghostly edge. Three felt shapes finish the face.
Recommended product: White Fringe Napkins or Ivory Ruffled Napkins. Both give the ghost a soft, wavy hem.

-
Step 1: Lay the napkin flat in a diamond shape, with a corner facing you.
-
Step 2: Fold the top corner down about four inches. This makes a flat top for the head.
-
Step 3: Fold the left and right corners behind the napkin, about two inches each. This rounds the head.
-
Step 4: Press the folds flat.
-
Step 5: Cut two ovals and one small round shape from black felt. Stick them on as eyes and a mouth with removable adhesive dots.
-
Step 6: Place the ghost on the plate with the fringe at the bottom.
Use removable adhesive dots for the felt face. They peel off, so your napkin stays clean. A white napkin gives a classic ghost. An ivory one gives a soft, vintage look.
Style it: Set a ghost at each seat. Guests can take theirs home after dinner.
Key Takeaways
Here are the main points to remember before you start folding.
-
Start with the bat, pumpkin, or ghost if you are new to napkin folding.
-
Use square cloth napkins that are 18 to 20 inches wide.
-
Press your napkins first so the creases stay sharp.
-
Match the napkin color to the fold. Rust works for pumpkins and black works for spiders.
-
Add small props like rings, ribbons, felt dots, and pipe cleaners for extra spook.
-
Wash your napkins after dinner so they are ready for next October.
-
Mix two or three folds on one table for more fun. Shop the full Halloween collection to find your colors.