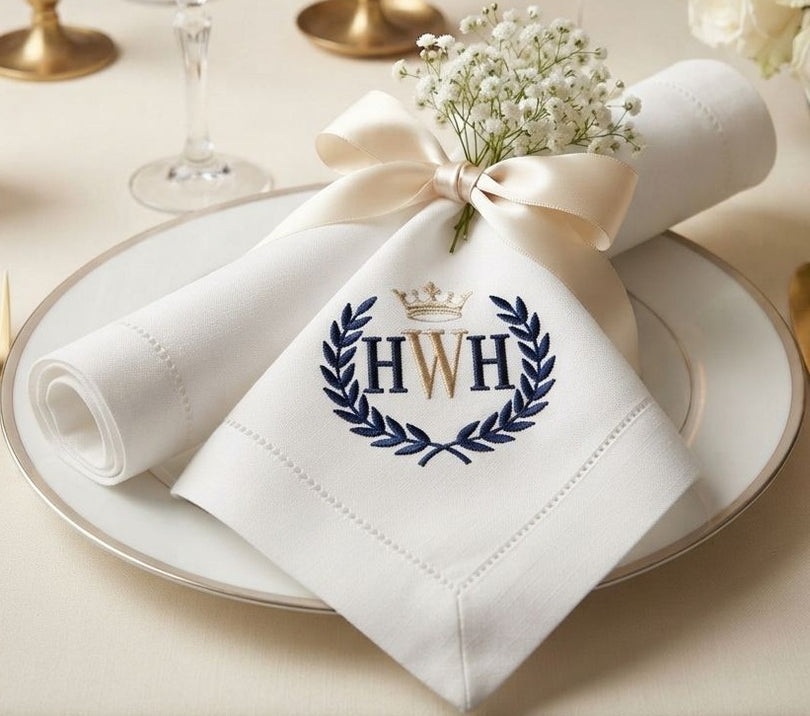

A creativaely folded napkin can turn a simple dining table into a seasonal display without requiring expensive decorations or complicated crafting techniques. A pumpkin-shaped napkin is particularly suitable for fall gatherings, Halloween dinners, Thanksgiving celebrations, and casual autumn meals. With a few basic folds and some careful shaping, an ordinary square napkin can become a charming pumpkin that adds warmth and personality to a place setting.
The technique works with both cloth napkins and larger paper napkins, although fabric napkins generally produce a fuller and more reusable result. Orange is the traditional choice, but autumn colors such as rust, mustard, cream, burgundy, and olive green can create a more subtle look. The finished napkin can be placed directly on a plate, beside the dinnerware, or incorporated into a larger seasonal tablescape.
Choose the Right Napkin Before You Start
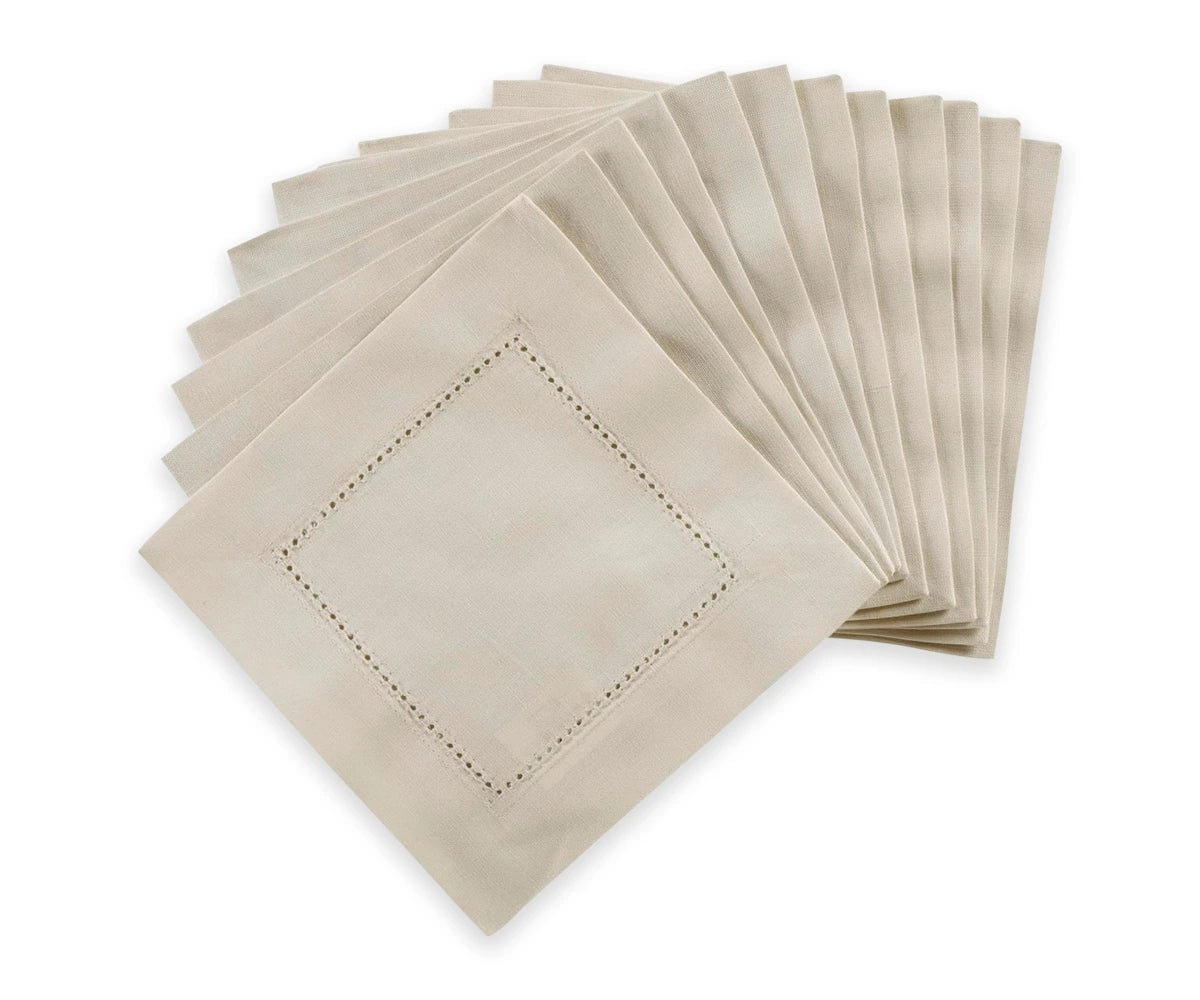
The type of napkin you choose can make the folding process easier or more difficult. A square napkin with some structure is generally the most convenient. Cotton and linen are particularly useful for reusable table settings because they fold neatly and can hold their shape better than very thin materials.
The napkin should be large enough to create several folds without becoming too bulky. A standard dinner napkin is usually suitable, but larger napkins can produce a more prominent pumpkin shape.
Before beginning, place the napkin on a clean, flat surface. It does not need to be perfectly pressed, but excessive wrinkles can interfere with the folds. If the fabric is heavily creased, lightly iron it first according to its care instructions.
Color can also influence the final appearance. Bright orange creates an unmistakable pumpkin shape, while muted orange or terracotta can give the table a more sophisticated autumn feel. Neutral napkins can work as well when paired with a green leaf or brown stem.
The rest of the table should also be considered. If the plates, tablecloth, or centerpiece already contain strong patterns, a solid-colored napkin may create better balance. A simple napkin can also serve as a visual anchor when the rest of the table is relatively understated.
Create Even Accordion Folds
Start by laying the napkin completely flat. If it has a visible front and back, place the side you want to show facing downward. The precise orientation is not critical at this stage because the finished pumpkin will be shaped from the folded fabric.
Begin folding one edge inward by approximately one to two inches, depending on the size of the napkin. Then fold the fabric back in the opposite direction. Continue alternating the direction of each fold to create an accordion pattern.
Try to keep the folds as even as possible. They do not need to be mathematically identical, but significant differences in width can make the finished pumpkin appear uneven.
Press each fold gently with your fingers as you go. There is no need to create extremely sharp creases — a slightly softer fold can actually help the finished pumpkin look fuller and more natural.
Continue until the entire napkin has been folded into a long accordion shape. At this point, it may look more like a folded fan than a pumpkin. That is completely normal. The rounded shape develops after the center is secured.
For anyone preparing several napkins for a dinner or party, it can help to complete the accordion folds on all of them before moving to the shaping stage. This creates a consistent rhythm and makes it easier to produce matching decorations.
Shape the Folded Napkin Into a Pumpkin
Once the accordion folds are finished, gently bring the ends toward one another. The folded fabric should begin forming a curved shape instead of remaining straight.
The center of the folded napkin needs to be secured so that the folds stay together. A short piece of ribbon, twine, or fabric can work for this purpose. Choose something that complements the napkin without overpowering it.
When securing the center, avoid pulling too tightly. The folds need enough room to spread outward. If the center is compressed too much, the finished pumpkin may look narrow rather than rounded.
This stage is also a useful reminder to check the area where seasonal decorations and linens are stored. Homeowners sometimes discover insect activity when bringing out boxes, tablecloths, or decorations that have been stored for several months. If there is unexplained pest activity in or around the home, it is better to identify the underlying issue rather than simply moving the affected materials elsewhere.
For example, someone searching for pest control Stockton may be dealing with a local pest problem involving insects around a home or property. The appropriate response depends on the type of pest and the conditions contributing to the activity, so identification should come before choosing a treatment approach.
Once the center is secure, gently fan the folds around it. Work gradually rather than pulling several folds at once. The goal is to distribute the fabric evenly so the shape resembles the rounded sections of a pumpkin.
Do not worry if the result is not perfectly symmetrical. Small variations can make handmade table decorations look more natural.
Add a Stem and Leaf
A simple stem can make the pumpkin shape much easier to recognize. There are several ways to create one, and the best option depends on the style of the table.
A small piece of brown ribbon or twine can be twisted into a short stem. A small rolled piece of brown fabric can create a softer appearance. For a rustic table, a small natural-looking decorative element can complement the texture of the napkin.
A green leaf can then be tucked into the top of the pumpkin. This can be made from a small piece of green fabric, another napkin, paper, or a suitable decorative material.
Keep the leaf relatively small. The pumpkin itself should remain the main feature. A large leaf can hide the folds and make the shape less recognizable.
This is also a natural moment to think about how the decorations themselves are stored between seasons. Boxes of stems, leaves, and other natural materials that sit in a garage or attic for months are exactly the kind of place where homeowners in warmer, humid regions sometimes end up looking into pest control in Stockton after noticing unexpected activity, since undisturbed storage areas can be appealing to insects looking for shelter.
If the napkin is being used around food, make sure any decorative materials are clean and suitable for a dining environment. Avoid sharp objects, loose materials that can fall into food, or small pieces that could present a choking hazard around young children.
For a formal autumn table, a simple stem and small leaf may be enough. For a Halloween gathering, more playful colors can be used without changing the basic folding technique.
Arrange Pumpkin Napkins Around the Table
Once the first pumpkin is complete, repeat the process for the remaining napkins. They do not have to be perfectly identical, but keeping the folds relatively consistent will create a more coordinated appearance.
Pumpkin napkins can be placed in several positions. Setting one on each plate creates an obvious focal point, while placing them beside the cutlery produces a more understated effect. They can also be arranged at the center of each place setting when the plates are already decorated.
The surrounding tableware should support the napkin rather than compete with it. Neutral plates and simple glassware can allow colorful pumpkin napkins to stand out. If the napkins are neutral, seasonal plates or a colorful centerpiece can provide the contrast instead.
There are several simple ways to create different moods:
- Classic Halloween: use orange napkins with dark brown or black stems and minimal additional decoration.
- Rustic autumn: choose rust, terracotta, or mustard fabric and pair it with natural textures.
- Elegant fall: use cream or muted beige napkins with understated green leaves and neutral dinnerware.
- Family gathering: combine warm colors with simple seasonal decorations that are easy for children to appreciate.
A table runner can also help frame the arrangement. Neutral linen or cotton napkins creates a calm background, while a subtle autumn pattern can reinforce the seasonal theme.
Fix Common Folding Problems
The first attempt may not produce a perfect pumpkin, especially if the fabric is very soft or very stiff. Fortunately, most problems can be corrected without starting over.
If the pumpkin looks flat, gently loosen the accordion folds and allow them to spread farther apart. If it looks too narrow, check whether the center has been tied too tightly.
Uneven folds can make one side appear larger than the other. In that situation, gently adjust individual folds rather than refolding the entire napkin. Small corrections are usually enough.
If the fabric refuses to hold its shape, try creating slightly deeper folds. A lightly starched cotton napkin may also be easier to work with than an extremely soft fabric.
Storage matters if the napkins are being prepared ahead of an event. Keep finished napkins in a clean, dry place and avoid placing heavy objects on top of them. Excessive pressure can flatten the folds and require reshaping before the table is set.
It is also worth keeping decorative textiles away from damp storage areas. Moisture can contribute to unpleasant odors and create conditions that are less suitable for storing fabric. Seasonal decorations should be completely dry before being packed away.
Make the Technique Your Own
Once the basic pumpkin shape is familiar, there is plenty of room for experimentation. Different fabrics can create noticeably different results even when the folding technique remains the same.
A crisp cotton napkin produces defined ridges, while linen napkins creates a softer, more relaxed appearance. Heavier fabrics can create substantial pumpkins, whereas lightweight material may produce a delicate decorative effect.
You can also experiment with scale. Larger napkins create larger pumpkins that work well as centerpiece elements. Smaller napkins are more appropriate for individual place settings.
Color combinations can change the entire mood of the table. Orange provides a traditional Halloween appearance, while cream and rust can create a quieter autumn atmosphere. Deep green can be incorporated through leaves, while brown or natural tones can be used for stems.
The most effective seasonal decorations are often those that remain simple. A few pumpkin-shaped napkins, a modest centerpiece, and warm lighting can create an inviting table without filling every available space.
End Note
Folding a napkin into a pumpkin is an approachable way to add seasonal character to a dining table. The technique relies on simple accordion folds, careful shaping, and a small decorative stem and leaf. Once the basic process is practiced, several napkins can be prepared relatively quickly.
The method is also flexible enough to suit different decorating styles. Bright orange fabric can create a traditional Halloween appearance, while neutral and earthy colors can work throughout the broader fall season.
Most importantly, the project does not require specialized crafting equipment. With an ordinary square napkin and a little patience, a practical piece of tableware can become a reusable seasonal decoration that adds a handmade touch to any autumn gathering.