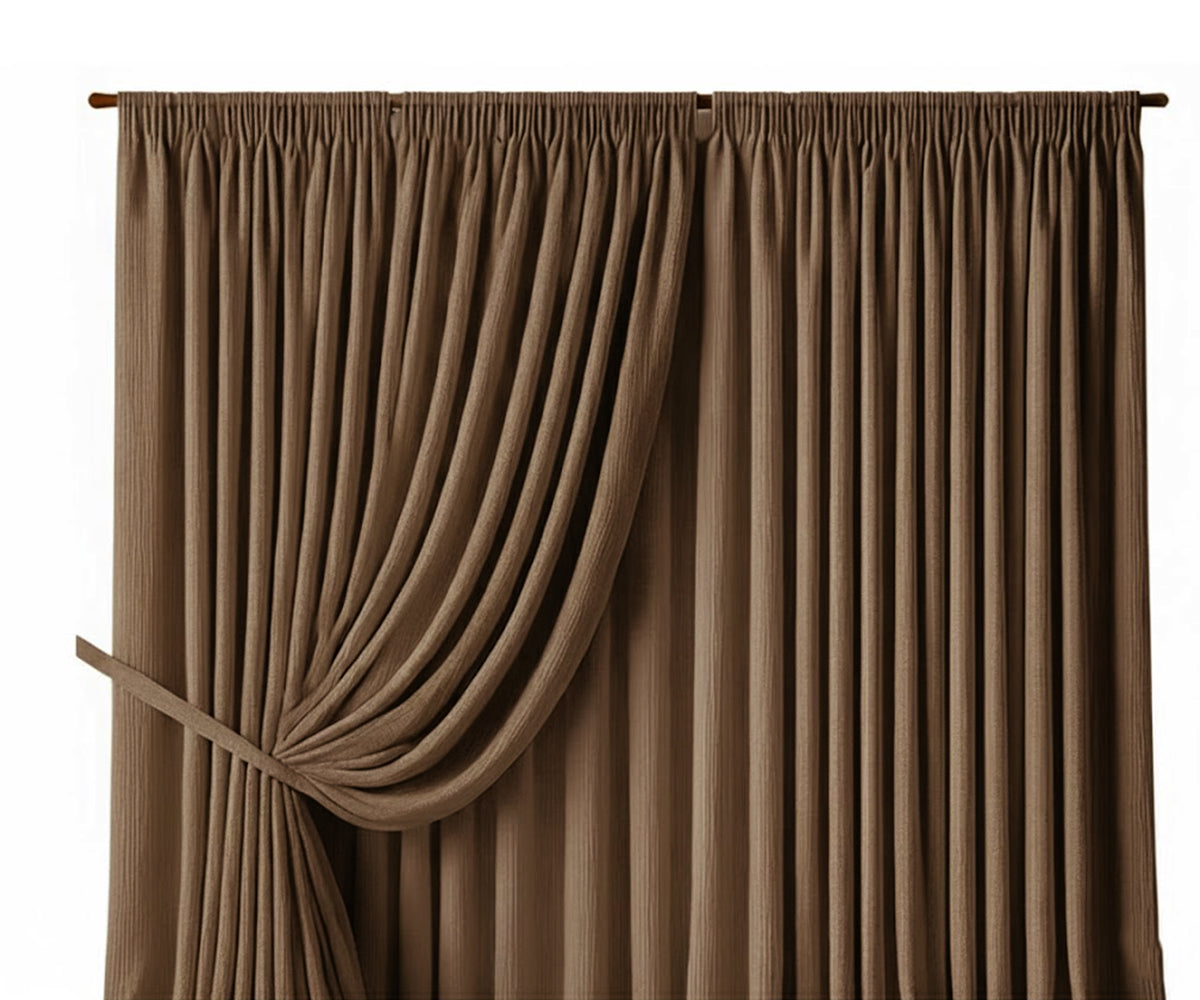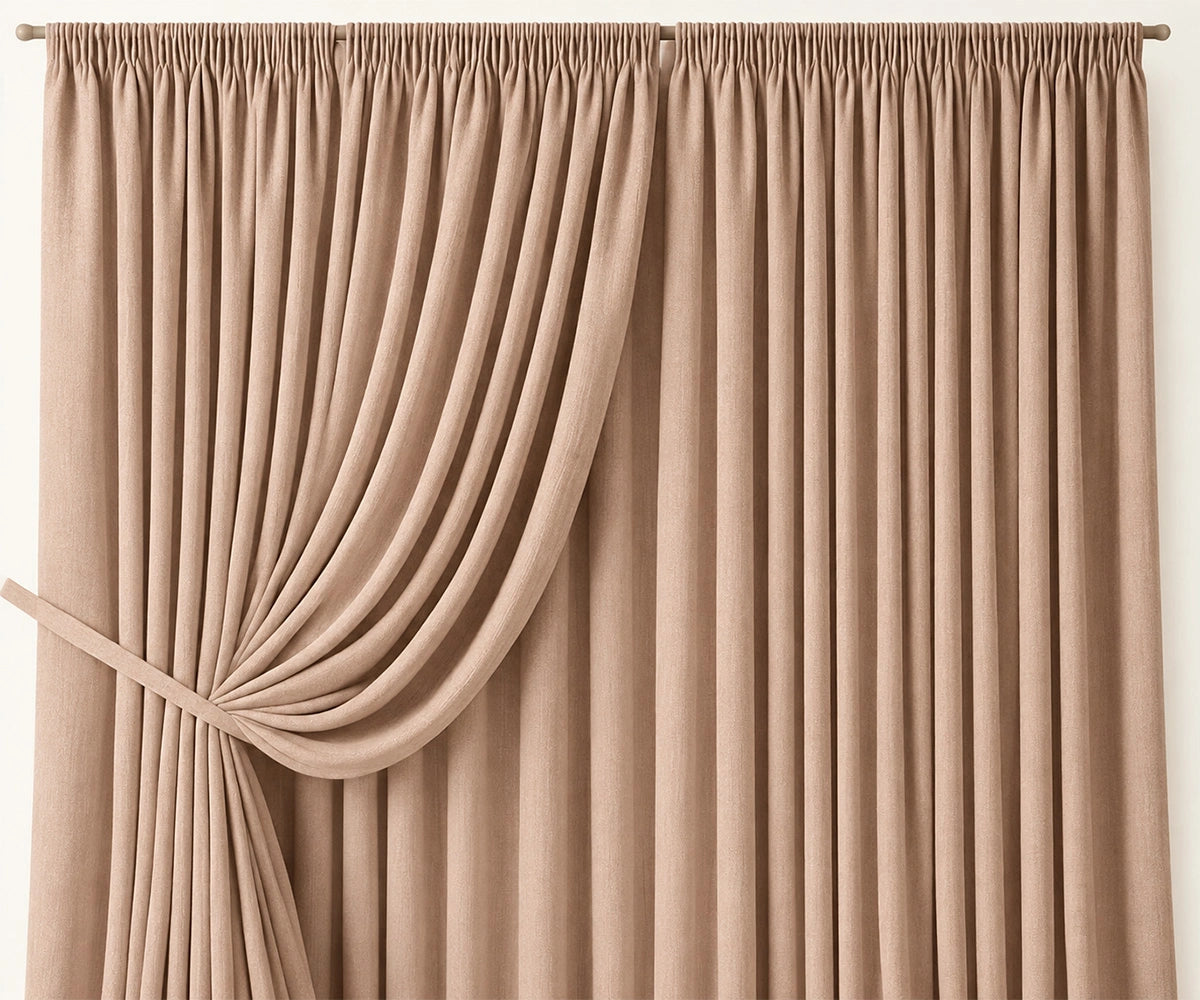



Keeping blackout curtains clean does not require frequent full washes. A consistent routine of light dusting every two weeks, spot cleaning when needed, and a deep clean every three to six months is enough to keep them looking fresh, smelling clean, and performing properly for years.
This guide covers why blackout curtains attract dust, how often to clean them, a step-by-step cleaning routine for every method, how to deodorize them, how to prevent dust buildup between cleans, and care tips specific to cotton blackout curtains.
Why Blackout Curtains Attract Dust and Allergens
Blackout curtains are effective at blocking light partly because of their weight and density the same qualities that make them efficient dust traps. Understanding why they accumulate dust helps explain why the cleaning routine matters.

- Large surface area - a full-length blackout curtain panel covers a significant amount of wall and window space; every square inch is exposed to airborne particles continuously
- Static attraction - fabric curtains develop a static charge over time, particularly in dry indoor environments, which actively attracts dust particles rather than simply allowing them to settle
- Air circulation - every time a window is opened or a door is closed near the curtain, air movement deposits a fresh layer of airborne particles onto the fabric surface
- Proximity to windows - windows are the primary entry point for outdoor allergens, pollen, and dust; curtains positioned directly over a window opening absorb whatever enters through the gap between the curtain and the frame
- Infrequent movement - curtains that stay in the same position for weeks at a time allow dust to accumulate undisturbed; curtains that are opened and closed regularly tend to shed surface dust more naturally
Why This Matters Beyond Appearance
Keeping your curtains clean isn't just about how they look. It affects your health, your home, and the life of the curtains themselves.
1. Better indoor air quality
-
Dusty curtains release particles into the air every time they move.
-
This can trigger allergies and make breathing harder.
-
This is especially important in bedrooms, where you spend hours sleeping.
2. Longer fabric life
-
Dust works its way into the weave over time.
-
Every time the curtain moves, these particles cause tiny scratches.
-
This slowly wears down the fabric and makes it look tired.
3. Prevents mold and mildew
-
Curtains absorb moisture from windows, especially in bathrooms, kitchens, or damp rooms.
-
Without regular cleaning, mold and mildew can grow.
-
A simple cleaning routine stops spores from building up before they become visible or harmful.
How Often Should You Clean Blackout Curtains?

Cleaning frequency depends on the room, the level of dust exposure, and whether anyone in the household has allergies or respiratory sensitivities.
|
Cleaning Type |
Frequency |
Method |
|
Light dusting |
Every 1–2 weeks |
Vacuum with a brush attachment or shake outdoors |
|
Spot cleaning |
As needed — treat stains immediately |
Damp cloth and mild detergent |
|
Steam cleaning |
Every 2–3 months |
Handheld garment steamer |
|
Deep wash |
Every 3–6 months |
Machine wash on gentle cycle (cotton curtains) |
|
Deodorizing |
Every 1–2 months or as needed |
Baking soda, fabric spray, or fresh air |
Rooms with more dust exposure near busy roads, in homes with pets, or in areas with high pollen counts benefit from more frequent light cleaning. Bedrooms where the curtains are rarely opened may need less frequent deep cleaning but benefit from regular vacuuming to prevent allergen buildup in the sleeping environment.
Also Read: Best Practices for Kitchen Hygiene: A Path to Healthier Meals
Step 1: Regular Dusting and Vacuuming
Regular dusting is the most important habit for keeping your blackout curtains clean between deep washes. It stops dust from building up on the surface and working deep into the fabric weave, where it becomes much harder to remove.
How to Vacuum Blackout Curtains
Follow these steps to vacuum your curtains safely and effectively:
1. Attach the right tool
-
Use the upholstery brush or soft-bristle attachment on your vacuum.
-
Never use a bare nozzle directly on the fabric. It can pull and distort the weave.
2. Set suction to low
-
Turn the vacuum to its lowest suction setting.
-
This is especially important for cotton blackout curtains. High suction can stress and stretch the fabric over time.
3. Start at the top and work down
-
Begin at the top of the curtain panel.
-
Use slow, overlapping vertical strokes.
-
Always work top to bottom. This prevents loosened dust from falling onto areas you've already cleaned.
4. Focus on the top hem and header
-
Pay extra attention to the area where the curtain attaches to the rail.
-
Dust collects most heavily here because the fabric is gathered or pleated.
5. Don't forget the back
-
Vacuum lightly along the blackout lining on the back of the curtain.
-
Follow the same top-to-bottom sequence.
-
The lining collects just as much dust as the front fabric.
Alternative Dusting Methods
If you don't want to use a vacuum, try these quick alternatives:
-
Shake them outdoors – Take the curtains down and shake them out vigorously outside. This removes loose surface dust quickly without any equipment.
-
Use a lint roller – This works well for pet hair, which the vacuum brush attachment may not fully capture.
-
Use a microfiber cloth – Wipe the fabric with a clean, dry microfiber cloth using downward strokes. This is very effective on smooth or tightly woven blackout fabrics.
Step 2: Spot Cleaning Stains
Spot cleaning treats localized stains and marks without requiring you to remove and wash the entire curtain. Treat stains promptly before they dry and set into the fabric for significantly better results.
How to Spot Clean Blackout Curtains
Follow these steps for effective spot cleaning:
1. Blot immediately
-
Use a clean, dry cloth to absorb as much liquid or material as possible.
-
Do not rub. Rubbing spreads the stain and pushes it deeper into the fibers.
2. Prepare a cleaning solution
-
Dampen a clean microfiber cloth with cool water and a small amount of mild liquid detergent.
-
Avoid harsh detergents, bleach, or stain removers that contain solvents. These can damage the blackout lining.
3. Dab gently
-
Dab the stained area gently with the damp cloth.
-
Work from the outer edge of the stain inward to prevent spreading.
4. Rinse thoroughly
-
Dab the area with a cloth dampened with plain clean water.
-
This removes any detergent residue. Leftover detergent can attract more dust once dry.
5. Air dry completely
-
Allow the area to air dry fully before closing the curtain against the window.
Step 3: Machine-Washing Cotton Blackout Curtains
Important: Not all blackout curtains are machine washable. Some have heat-sensitive linings or bonded layers that can degrade in the washing machine. Always check the care label first.
Cotton blackout curtains, especially those with a sewn-in blackout layer rather than a chemical coating, are usually machine washable and the easiest to maintain.
Machine-Washing Instructions
1. Remove all hardware
-
Take off curtain hooks, rings, and clips before washing.
-
Metal hardware can damage both the fabric and the machine drum during the wash cycle.
2. Wash one panel at a time
-
If your curtains are large, wash only one panel per load.
-
Overloading the machine prevents proper cleaning and can distort the curtain's shape.
3. Use the right cycle and water temperature
-
Select a gentle or delicate cycle with cold water.
-
Hot water can cause cotton to shrink and may damage or separate the blackout lining from the face fabric.
4. Choose the right detergent
-
Use a mild, pH-neutral liquid detergent.
-
Powder detergents may not fully dissolve in cold water and can leave residue on the fabric.
5. Skip fabric softener and bleach
-
Fabric softener coats the fabric fibers and can reduce the effectiveness of the blackout lining over time.
-
Never use bleach, even on white curtains. Bleach weakens the fabric and can cause the lining to yellow or crack.
6. Remove promptly
-
Take the curtains out as soon as the cycle ends.
-
Leaving them sitting wet in the drum causes creases that are difficult to remove without steaming.
Step 4: Steam Cleaning for a Fresh Look
Steam cleaning is an excellent alternative to machine washing for blackout curtains that cannot be fully removed or that need freshening between full washes. It removes surface dust, releases wrinkles, and kills some bacteria and dust mites without wetting the fabric heavily.
How to steam clean blackout curtains:
-
Leave the curtains hanging on the rail. Do not remove them for steaming
-
Fill the handheld steamer with clean water and allow it to reach full temperature before starting
-
Hold the steamer head approximately 6 inches (15 cm) away from the fabric surface. Too close can cause watermarks or wet the fabric excessively
-
Work in slow, overlapping vertical strokes from the top of the panel downward
-
On the blackout side of the curtain, use extra caution, hold the steamer slightly further away, as some blackout linings are sensitive to direct steam at close range
-
Allow the curtains to air dry fully after steaming before closing them against the window. Damp fabric pressed against a cold window surface can develop mildew
When steam cleaning is the right choice:
-
When the curtains cannot be removed from the rail for washing
-
Between full washes to freshen the fabric and remove light surface dust
-
For curtains with bonded or coated blackout linings that are not machine washable
-
After extended storage, when the curtains carry a musty or stale smell
-
As a quick refresh before guests arrive or before a room is photographed
Step 5: Deodorizing Blackout Curtains
Blackout curtains in bedrooms, living rooms, and kitchens absorb cooking smells, tobacco smoke, pet odors, and general indoor stuffiness over time. Deodorizing is a separate step from cleaning and addresses odors that washing alone may not fully eliminate.
Baking soda method:
-
Lay the curtain flat on a clean surface or keep it hanging
-
Sprinkle a light, even layer of baking soda over the face fabric
-
Leave for 15 to 30 minutes the baking soda absorbs odor compounds from the fabric
-
Vacuum off the baking soda using the brush attachment on the lowest suction setting
-
Repeat on the reverse side if the odor is persistent
Fabric spray method:
-
Fill a clean spray bottle with a 50:50 mixture of water and white vinegar. Vinegar is a natural odor neutralizer and evaporates without leaving a smell once dry
-
Alternatively, add 8 to 10 drops of an essential oil (lavender, eucalyptus, or tea tree) to clean water for a scented fabric spray
-
Mist lightly and evenly from a distance of about 12 inches. Do not saturate the fabric
-
Allow to air dry fully with windows open if possible
Fresh air method:
-
On a dry, non-humid day, take the curtains down and hang them outside in a shaded area for two to four hours
-
Natural airflow and UV light from diffuse daylight are effective at neutralizing odors and killing surface bacteria
-
Avoid direct sunlight for extended periods. UV light can fade fabric color, particularly on dark or colored curtains
Step 6: Preventing Dust Buildup Between Cleans
Prevention is the best way to reduce how often you need to deep clean your curtains. A few simple habits will keep them looking and smelling fresher for longer.
Practical Dust Prevention Habits
1. Use an air purifier
-
Place an air purifier with a HEPA filter in rooms with blackout curtains.
-
This reduces the amount of airborne dust particles that can settle on the fabric.
2. Keep window areas clean
-
Regularly clean window sills, frames, and tracks.
-
Dust from these areas transfers to the curtain every time you open or close it.
3. Close curtains during dusty conditions
-
Keep curtains closed on windy days, during building work, or in high-pollen seasons.
-
This limits direct exposure to airborne particles.
4. Open curtains regularly
-
Even in rooms where they stay closed most of the time, open them occasionally.
-
The movement shakes loose surface dust before it can embed in the weave.
5. Clean the surrounding area
-
Vacuum the floor and furnishings near the curtains regularly.
-
A dusty room means dusty curtains. Reducing dust at the source keeps fabric cleaner.
Read More: Home Office Decor Ideas: How to Create a Productive Space
Why Cotton Blackout Curtains Are the Easiest to Maintain
Not all blackout curtains are created equal when it comes to care. Cotton blackout curtains stand out as the most low-maintenance option for several practical reasons.
1. Machine Washable
Cotton blackout curtains, especially those with a sewn-in blackout layer rather than a chemical coating, are typically machine washable.
-
This means you can clean them at home without expensive dry-cleaning bills.
-
use a gentle cycle with cold water and mild detergent.
-
They bounce back well after washing, unlike many synthetic or coated alternatives.
2. Durable and Breathable
Cotton is a naturally strong and breathable fabric.
-
It withstands regular cleaning without losing its shape or integrity.
-
The breathable fibers allow air to circulate, which reduces moisture buildup and helps prevent mold and mildew.
-
This makes cotton curtains more resistant to odors compared to synthetic materials.

3. Resists Static and Dust
Cotton is a natural fiber, so it does not generate static electricity like polyester or synthetic blends.
-
Less static means less attraction to airborne dust and pet hair.
-
This keeps your curtains cleaner for longer between washes.
4. Easy to Dry and Rehang
Cotton curtains dry relatively quickly and hold their shape well.
-
You can rehang them while still slightly damp, and their natural weight helps smooth out wrinkles as they dry.
-
This reduces the need for ironing or steaming after washing.
5. Safe for Sensitive Households
Cotton is a natural, non-toxic material.
-
It does not off-gas harmful chemicals or VOCs (volatile organic compounds) like some coated or synthetic blackout fabrics.
-
This makes cotton curtains a safer choice for homes with children, pets, or allergy sufferers.
Easy Care for Long-Lasting Curtains
Keeping your cotton blackout curtains clean doesn't have to be complicated. With the right habits, you can extend their life, keep them looking fresh, and save yourself time and effort.
Key Takeaways
1. Regular maintenance prevents heavy cleaning
-
Dust and vacuum your curtains weekly.
-
Spot clean stains as soon as they happen.
-
A little prevention goes a long way in reducing the need for deep washing.
2. Cotton curtains are the easiest to care for
-
They are machine washable and durable.
-
They resist static, so they attract less dust.
-
They dry quickly and hang straight with minimal wrinkles.
3. Follow the right cleaning methods
-
Always check the care label first.
-
Use cold water, gentle cycles, and mild detergent.
-
Never use bleach, fabric softener, or high heat.