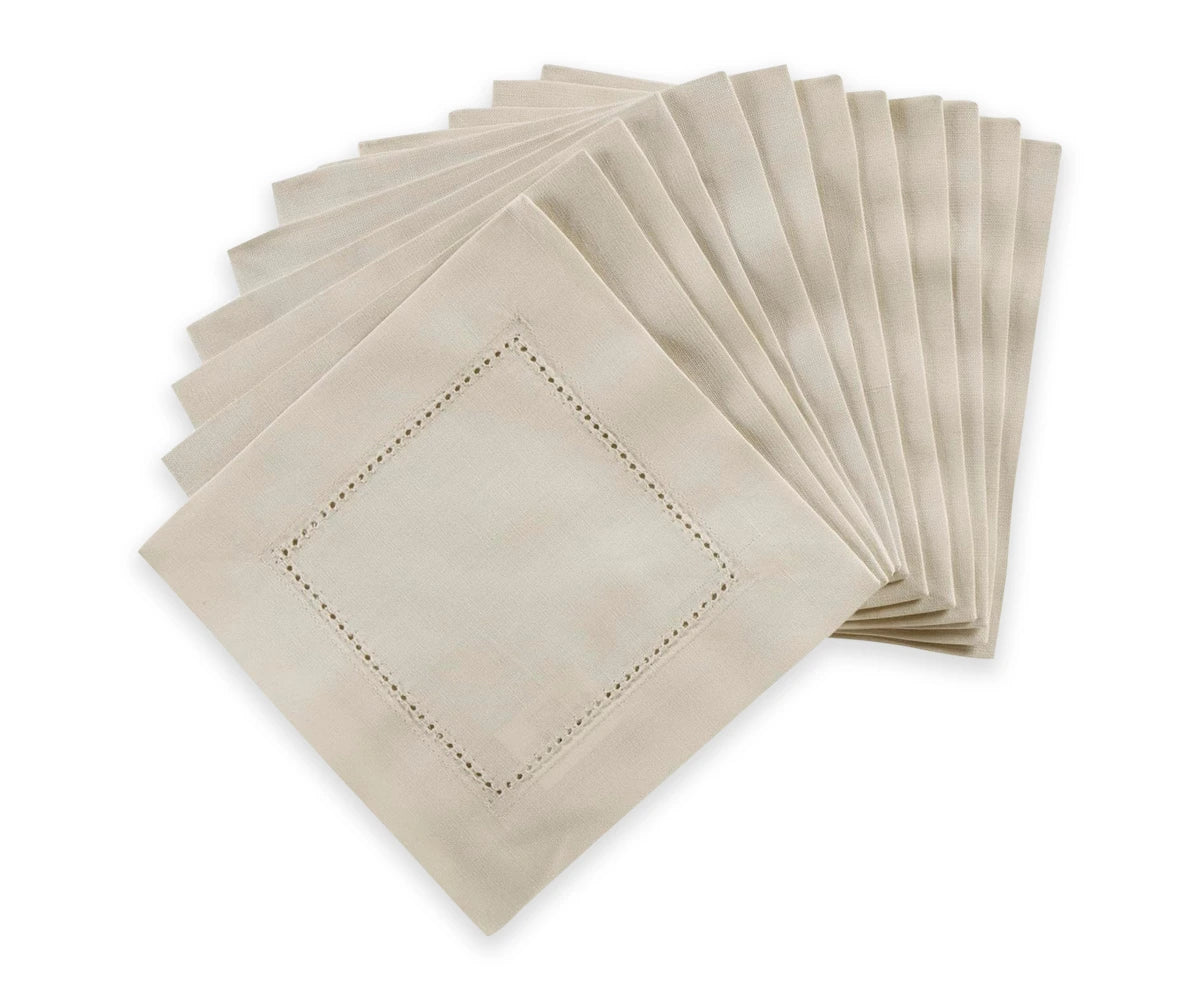




The first genuinely cold morning has a way of exposing a house’s weak spots. A room that felt fine in October suddenly has a chilly corner. The front door lets in a thin line of cold air, and the heating system seems to run longer than it did last year. Even simple additions, such as a thick tablecloth over a dining table, can help create a cozy atmosphere during the colder months.
Raising the thermostat may mask some of that discomfort, but it does not explain where the warmth is going. If you are wondering how to winterize your home, begin with the places where heat is being lost or prevented from reaching the room. Many of them can be addressed without a major renovation.
Begin With the Windows
Window blinds are often treated as a finishing detail, but in winter they also help manage sunlight, privacy, and the discomfort of sitting near cold glass. Before choosing a covering, check the window itself for faults that need repairing.
Windows affect comfort even when they appear to be in good condition. Warm air can escape through worn seals, while heat also moves through the glass and frame. Cold glass cools the air beside it, and that air sinks toward the floor. The resulting downdraft can feel like an open gap even when the window is tightly shut.
Inspect each window rather than assuming they all have the same problem. Check whether the locks pull the sash firmly into place and whether the weatherstripping remains flexible. Cracked caulk around a stationary frame may need replacing, but condensation trapped between panes usually points to a failed insulated-glass seal rather than a gap that can be fixed from inside the room.
A quick check can narrow down the cause:
|
What you notice |
Likely issue |
First response |
|
Curtain moves on a windy day |
Air leakage around the sash or frame |
Inspect locks, seals, and weatherstripping |
|
Glass feels cold, but no air is moving |
Heat transfer through the window |
Add a closely fitted covering |
|
Moisture appears between panes |
Failed insulated-glass seal |
Ask a window professional about repair |
|
Water forms on the room-facing surface |
Indoor humidity meeting cold glass |
Improve ventilation and monitor humidity |
A window covering will not repair a leaking frame. Its value lies in adding coverage and making the window easier to manage throughout the day.
Products described as energy efficient window coverings vary considerably. Construction and fit matter more than the label alone. Large gaps allow room air to circulate against the glass, while a closely fitted treatment creates a more useful buffer.
Stop Drafts Before Adding More Heat
Once the windows have been checked, inspect exterior doors and the joints around their frames. Small leaks are easy to dismiss, but several of them can keep a hallway or nearby room noticeably colder.
Caulk and weatherstripping are not interchangeable. Caulk belongs on stationary joints, such as the point where a frame meets the wall. Weatherstripping is designed for movable parts, including window sashes and doors. A door sweep closes the space at the threshold.
Before applying new material:
-
Remove loose caulk and clean the surface instead of sealing over a failed layer.
-
Confirm that the window or door is properly aligned and can close without force.
-
Choose a product intended for the surface, gap size, and expected temperature.
-
Leave drainage holes and intentional ventilation openings clear.
The ENERGY STAR DIY guide to sealing and insulation describes these projects as cost-effective ways to improve comfort and efficiency, while also emphasizing safe planning. Homes with fireplaces or fuel-burning equipment need adequate ventilation and combustion air. If the purpose of an opening is unclear, do not seal it at random.
For anyone researching how to lower heating bills, air sealing is a sensible early project because it deals with wasted warmth before additional heat is produced.
Treat Winter Sunlight as Useful Heat
On a bright winter day, sunlight warming a floor or sofa is doing some of the heating system’s work. The effect will not be large in every room, but there is little benefit in blocking useful sun and then paying to replace that warmth.
Open coverings on windows receiving direct light. Close them again before dusk, when the glass begins losing more heat to the outdoors. South-facing windows often receive the most useful winter sun in much of the United States, although trees, neighboring buildings, and roof overhangs can change the pattern.
Spend one clear day observing what happens in the actual house:
-
Note which windows receive direct light and at what time.
-
Open their coverings once the sun reaches the glass.
-
Adjust for glare rather than closing the window completely.
-
Lower or close the coverings as daylight fades.
Mini blinds offer an affordable way to direct light with adjustable slats. They are better at managing glare and privacy than providing substantial insulation, so a drafty or particularly cold window may need weather repairs or an additional fabric layer.
The objective is not to keep every covering open all day. It is to use sunlight where it provides warmth and maintain coverage where it does not.
Give the Heating System a Fair Chance
A furnace or heat pump cannot distribute warmth properly when airflow is restricted. Before cold weather settles in, inspect the filter, supply registers, and return grilles. A bookcase pushed against a return vent can affect comfort in more than one room.
Homeowners can safely handle several basic tasks:
-
Check the filter monthly and clean or replace it according to the equipment instructions.
-
Vacuum accessible vent covers without reaching into the ductwork.
-
Move rugs, furniture, and curtains away from supply and return openings.
-
Test the thermostat and replace its batteries if necessary.
Professional maintenance covers controls, electrical components, fuel connections, and other work that should not be approached casually. Arrange an inspection if the equipment makes unfamiliar sounds, produces unusual odors, starts and stops repeatedly, or no longer heats the home evenly.
Thermostat schedules deserve attention too. Set them around the household’s current routine rather than an old program left behind from last winter. Different heating systems respond differently to setbacks, so consult the manufacturer’s guidance before making large temperature changes.
The U.S. Department of Energy includes filter checks, thermostat adjustments, and window repairs among its practical winter energy-saving recommendations. None is dramatic on its own. Their value comes from removing several small sources of waste at the same time.
Decide What to Fix Now – and What Can Wait
The most useful winter home energy saving tips distinguish between a quick repair and a larger building problem. Worn weatherstripping can be replaced in an afternoon. Missing attic insulation, persistent condensation, or severe temperature differences between rooms call for a closer assessment.
Use this order of priority:
-
Stop obvious drafts. Repair failed seals around operable windows and exterior doors.
-
Restore airflow. Change dirty filters and clear blocked vents.
-
Manage the windows. Use winter sunlight during the day and close coverings at night.
-
Investigate recurring problems. Document cold rooms, moisture, and long heating cycles.
-
Plan larger work carefully. Consider an energy audit before replacing windows or adding insulation without knowing where the main losses occur.
Renters can complete many of the checks, but permanent caulking, new hardware, and heating-system work may require the owner’s approval. Photographs of visible gaps and notes about when a room becomes cold can make a maintenance request more useful.
Do not judge the results only by the next utility bill. Weather, billing periods, and energy prices change. Comfort offers evidence too: fewer drafts, more even room temperatures and less frequent heating cycles suggest that the improvements are helping.
The aim is not to make an older home perfectly airtight in one weekend. It is to reduce heat loss through windows and doors, maintain the system already in place, and identify problems that deserve professional attention. A better-sealed threshold or an uncovered return vent may seem minor, but small improvements are often where sensible winter preparation begins.