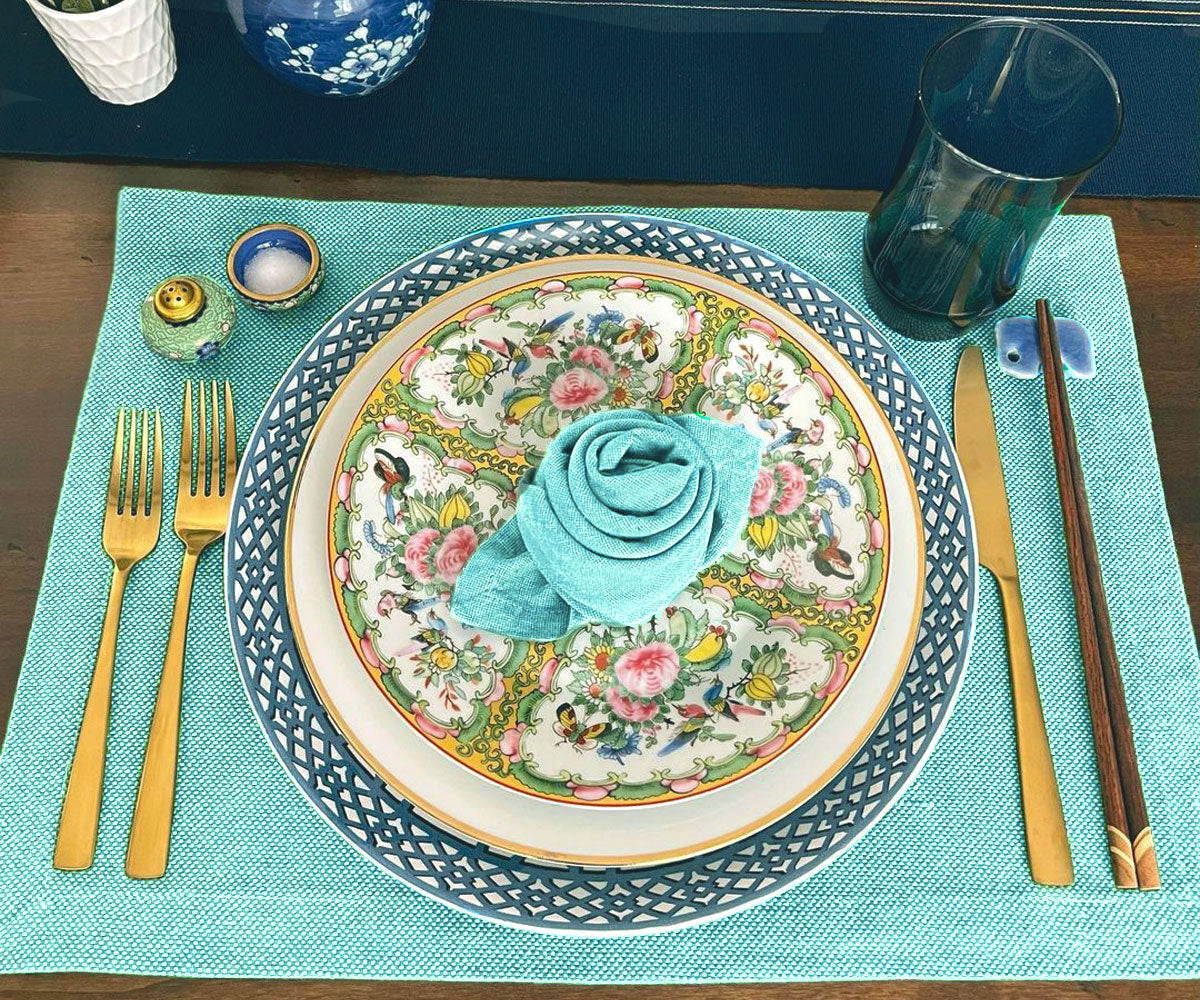
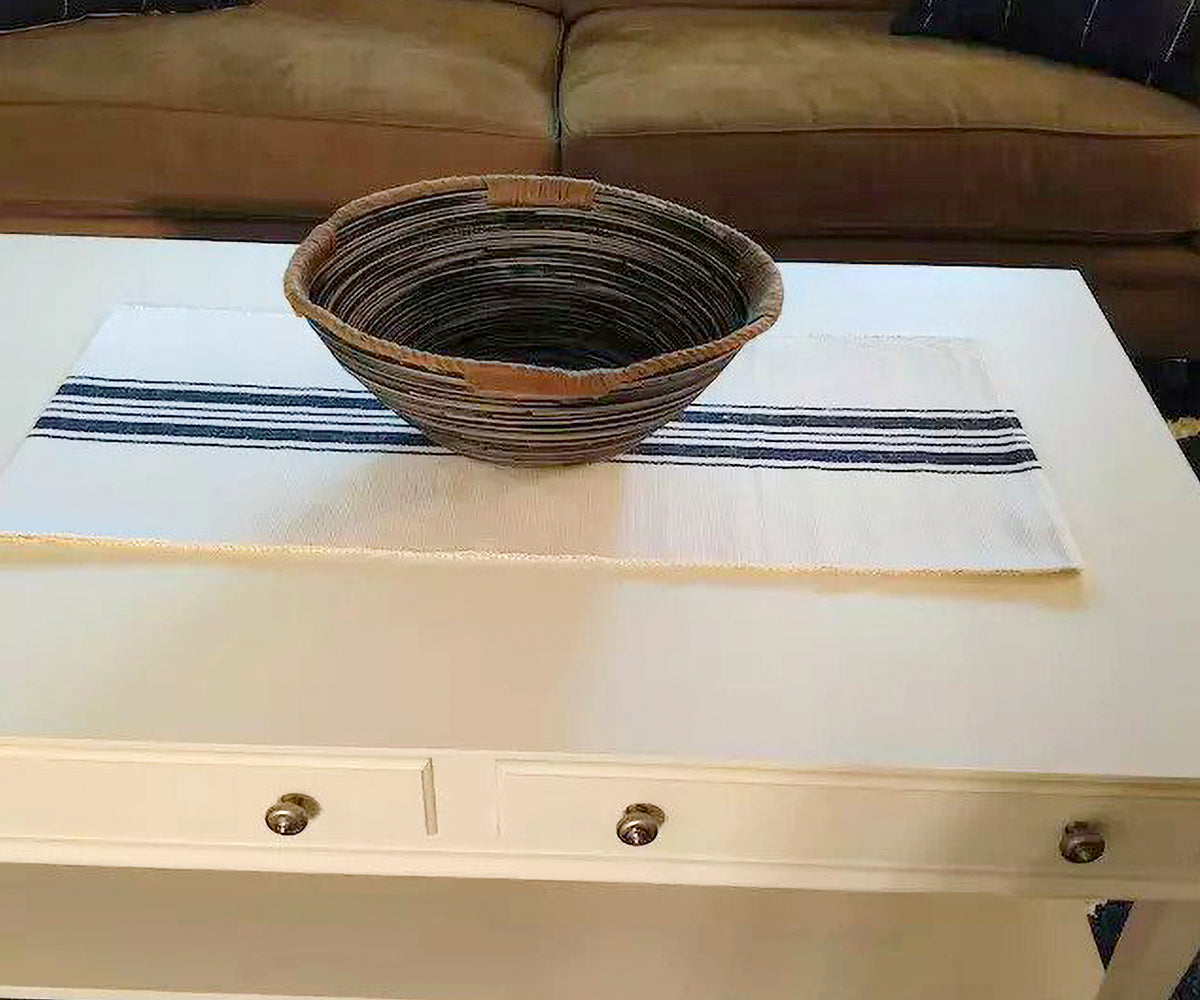
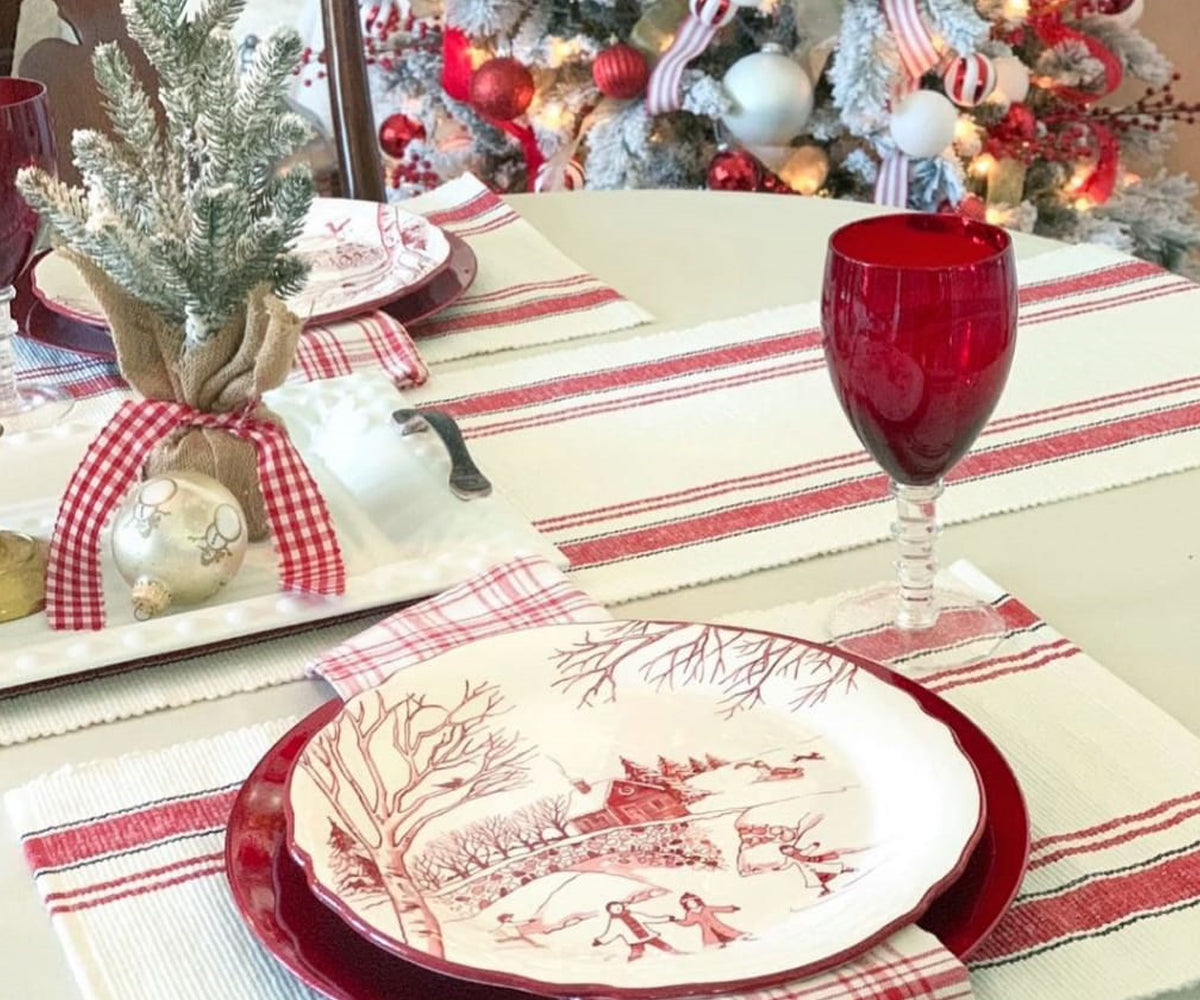
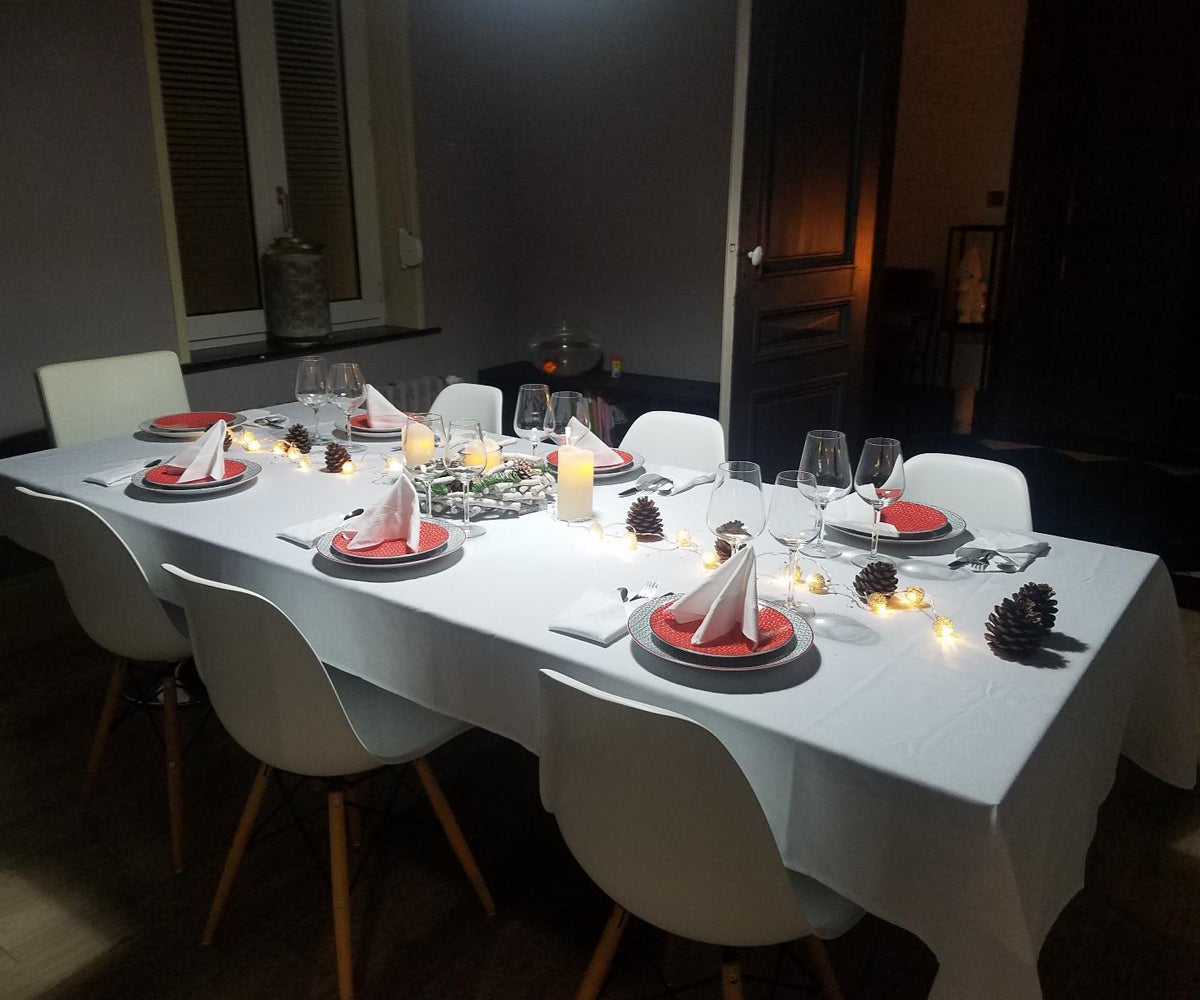
We'll explore the steps to make different types of placemats, how to choose the right materials, and why creating your own is such a rewarding experience. Plus, we'll highlight some beautiful linen products from All Cotton and Linen that can complement your DIY project.
Why Make Your Own Placemats?
Store-bought placemats may look good, but they often lack the personal touch and uniqueness that can make your dining table truly stand out. By making your own custom placemats, you get to choose the colors, patterns, and fabrics that match your home decor perfectly. Plus, there's a special satisfaction in crafting something beautiful with your own hands.
Here are some reasons to make your own placemats:
- Customization: You can tailor the design to fit any occasion or season.
- Affordability: Crafting your placemats can be more cost-effective than purchasing high-end, ready-made options.
- Creativity: It gives you a chance to express your personality and creativity through fabric, pattern, and design choices.
Also Read: What Are Some Easy and Cheap DIY Decor Ideas That Only Require Items Around Your House?
Materials You'll Need
Before you start, gather all the necessary materials. For any placemat, you'll typically need:
- Fabric: Choose durable, easy-to-clean fabrics like cotton, linen, or canvas. You can also opt for plaid placemats or patterned fabric for a seasonal or festive look.
- Thread: Select a strong thread that matches or contrasts nicely with your fabric.
- Scissors: Good fabric scissors will help you cut clean, precise edges.
- Measuring Tape: For accurate dimensions, a measuring tape is essential.
- Sewing Machine (optional): While you can hand-sew, a sewing machine makes the process much faster.
Step-by-Step Guide: Making Basic Fabric Placemats
1. Choosing the Right Fabric
The fabric is the foundation of your placemat. For a more formal setting, consider using linen or cotton, which provides a classic, elegant look. For a casual or rustic vibe, cotton canvas or a plaid design is perfect. You can also explore oval placemats or round placemats for a unique shape that enhances your table setting.
2. Cutting the Fabric
Once you've selected your fabric, it's time to cut it to size. A standard placemat is about 12" x 18", but you can customize the size based on your table's dimensions. If you're making round placemats, trace a large circular object, such as a plate, onto your fabric before cutting.
For oval placemats, fold a rectangular piece of fabric in half and sketch the desired oval shape. Then, cut through both layers of fabric at once to ensure symmetry.
3. Hemming the Edges
Hemming the edges gives your placemat a clean, finished look. To do this:
- Fold the edges over about ¼ inch, then press with an iron.
- Fold them over again to hide the raw edges.
- Sew along the fold using a straight stitch, making sure the stitches are close to the edge.
For those who want a fancier finish, hemstitched placemats offer a delicate, handmade look. These placemats feature intricate hemstitching that gives an old-world charm to your table setting. While hemstitching takes a bit more effort, it’s worth it for the elegant result.
4. Adding Extra Touches
Once your placemats are sewn, feel free to embellish them! You can add:
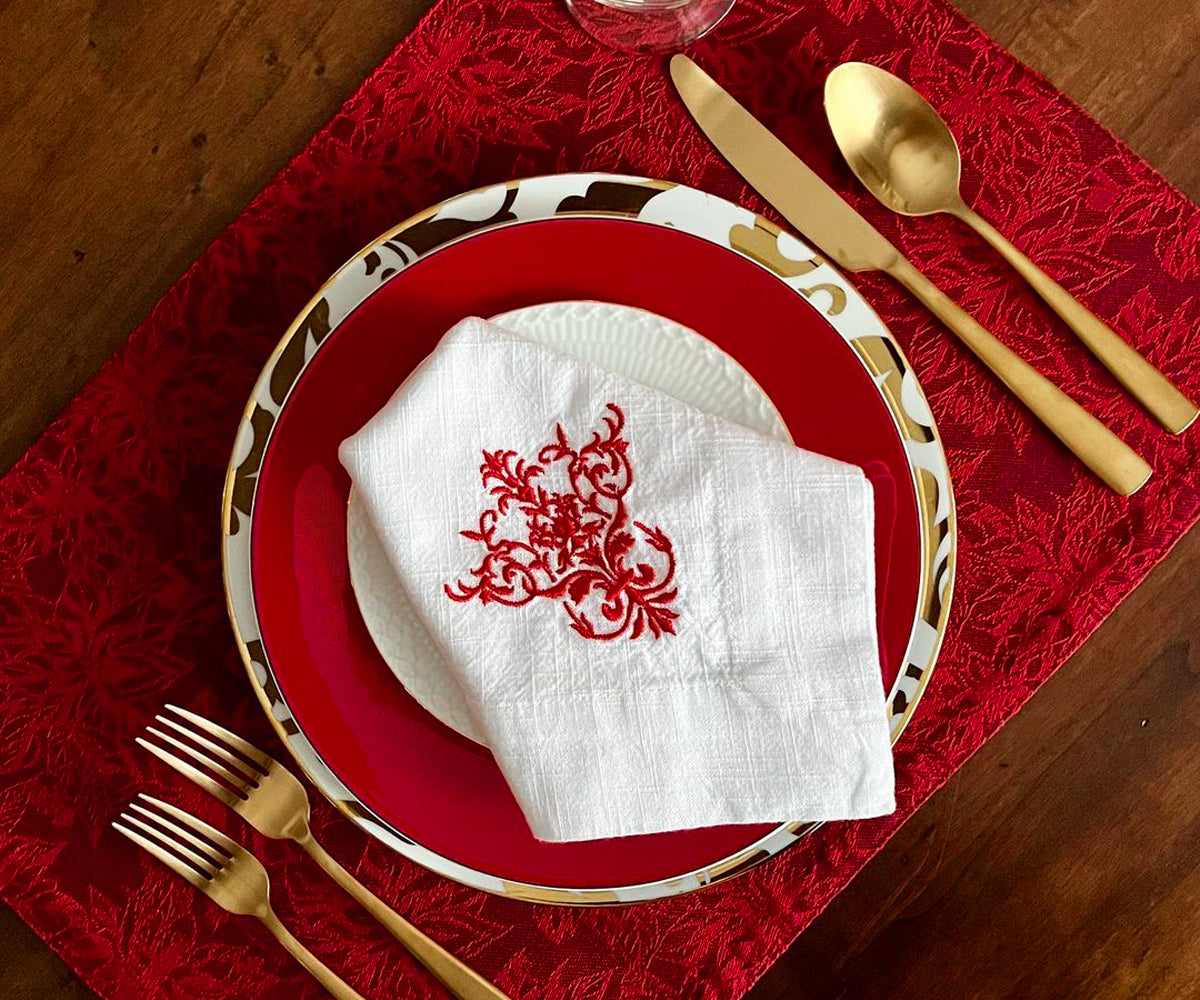
- Embroidery: Monogram your placemats with initials for a personalized touch.
- Fabric Paint: Paint fun designs or seasonal patterns onto your placemats.
- Trim: Sew lace, tassels, or ribbon along the edges for a decorative finish.
Read More: What Is the Best Way to Choose a Table for a Small Dining Area?
Creative Ideas for Different Types of Placemats
1. Round Placemats
Round placemats are both stylish and functional, offering a modern look that pairs well with round dining tables. They’re also great for breaking up the square and rectangular lines of a traditional table setting. To make these, simply cut out a perfect circle from your chosen fabric and hem the edges. You can add padding inside to make them thicker or quilt them for a cozy texture.
2. Hemstitched Placemats
For a vintage or farmhouse feel, hemstitched placemats are a great option. These involve hand-sewing or using a specialized sewing machine to create a hemstitched edge. Though they take a bit more time to make, their delicate, ornamental finish makes them worth the effort, adding a touch of sophistication to any table setting.
3. Oval Placemats
If you want to go for a more unique shape, consider oval placemats. The oval design is especially versatile, fitting well with oval or rectangular tables. This shape can soften the angular lines of your table and gives a more flowing, organic appearance. You can experiment with bold patterns or solid colors to make a stylish statement.
4. Plaid Placemats
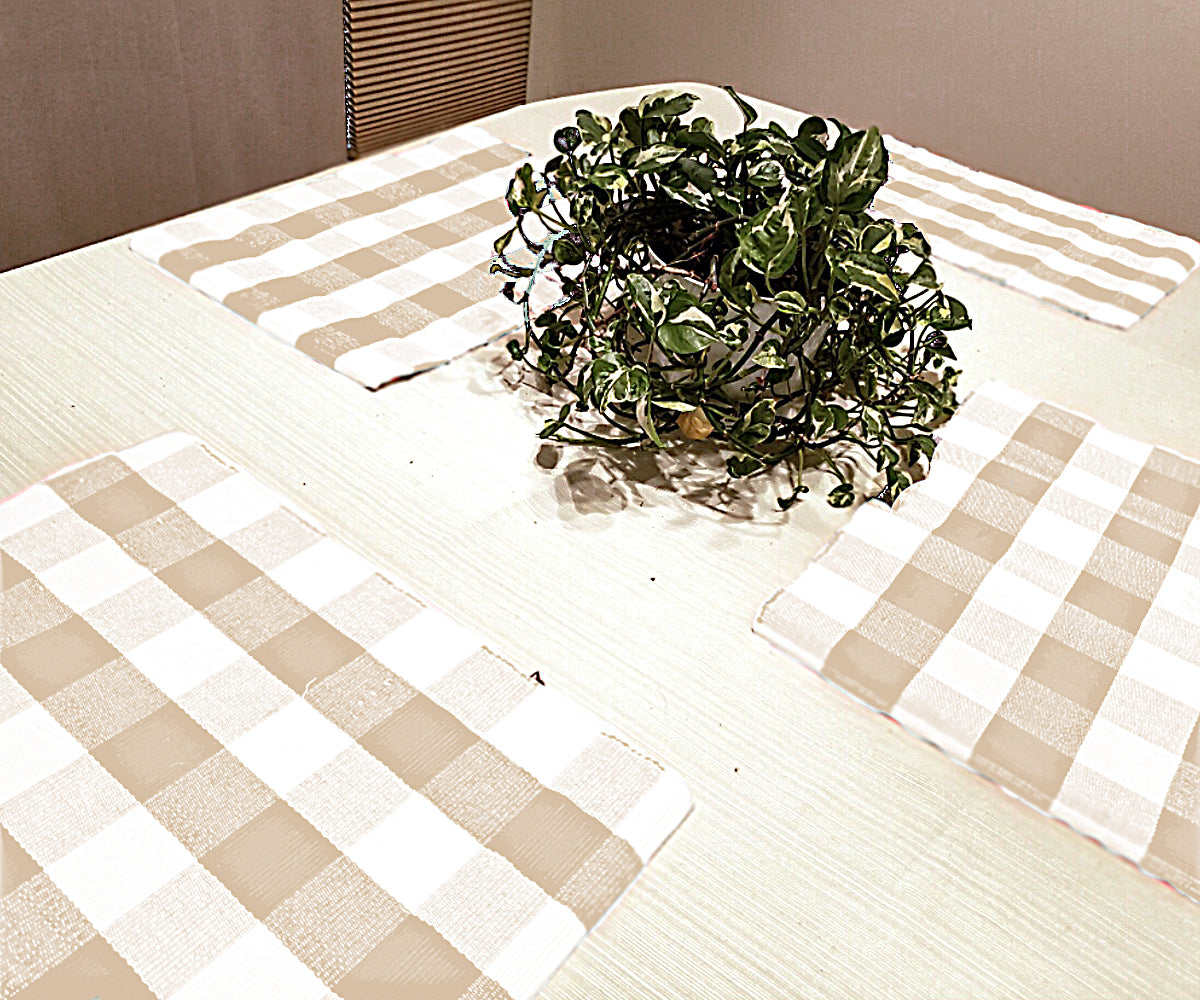
For a cozy, rustic feel, plaid placemats are perfect, especially in fall and winter months. Plaid is a versatile pattern that adds warmth and texture to your dining room. To create these, you can use flannel or cotton fabric in classic red, green, or navy plaid. This timeless design is easy to sew and instantly elevates a casual dinner setting.
5. Custom Placemats
One of the best parts of DIY placemat-making is the ability to create custom placemats tailored to your style. Whether you want monogrammed placemats, seasonal designs, or color schemes that match your decor, the possibilities are endless. Customization allows you to design placemats for specific occasions, such as birthdays, holidays, or family dinners.
Tips for Choosing the Best Fabric
When selecting fabric for your DIY placemats, consider the following:
- Durability: Choose fabrics that can withstand frequent washing, especially if you’ll be using them regularly.
- Stain Resistance: Materials like linen and cotton can be treated for stain resistance, which is essential for dining use.
- Colorfastness: Make sure the fabric is colorfast so it won’t fade after washing.
- Style: Think about the aesthetic you want to achieve. For a modern look, opt for bold, solid colors or geometric prints. For a rustic or vintage feel, go for plaid or floral patterns.
Read Related: How to Ensure Quality When Shopping for Home Décor Online
Caring for Your DIY Fabric Placemats
Once you've completed your placemats, it's important to care for them properly so they last. Here are a few tips:
- Wash regularly: Machine wash on a gentle cycle using mild detergent to avoid fading and shrinkage.
- Iron for a crisp look: After washing, iron the placemats to keep them looking sharp and wrinkle-free.
- Store flat: To avoid creases, store your placemats flat or gently roll them.
Complement Your DIY Placemats with Other Table Linens
To enhance your table even further, consider pairing your DIY placemats with matching or complementary table linens. All Cotton and Linen offers a wide variety of kitchen towels, tablecloths, cloth napkins, and more. Here are a few items you can find at their store:
- Kitchen Towels: Durable and absorbent, these towels come in various colors and patterns to suit any kitchen decor.
- Table Linens: From classic white to modern plaid, find the perfect tablecloths to pair with your placemats.
- Cloth Napkins: Add a touch of elegance with their reusable cloth napkins, available in various sizes and materials.
Visit the All Cotton and Linen online store for a wide selection of high-quality, eco-friendly products that will complement your DIY projects perfectly.

Making your own DIY fabric placemats is not only a fun and creative project but also a great way to add a personal touch to your dining table. With endless options for customization, you can tailor your placemats to match any season, occasion, or personal style. Whether you're creating round placemats, oval placemats, or something more unique, the process is rewarding and results in a beautiful addition to your home.
So gather your materials, set aside some crafting time, and start creating your perfect placemats today! And don't forget to check out All Cotton and Linen for all your kitchen towel, table linen, and napkin needs.


